Showing posts with label basic grey. Show all posts

Thursday, September 8, 2011

Creating Just To Be Creative

I love those moments when I don't have any projects due and I can just dig in my stash and create just for the hell of it. Having the freedom to use any product that I want and scrap whatever moves me is quite liberating...and fun and I think it even lit a spark under my mojo!

I started going through my Basic Grey stash. Seeing their recent DT call reminded me of how much I love their papers and that I haven't used them in a while. I came across the Archaic line which I had been hoarding for quite some time a knew that it was finally time to dust it off.

This past Earth Day, I took the boys to the Earth Day Party at our local zoo. While searching for the bear exhibit, I happened to see the "Please Do Not Feed The Bears" sign. Of course, I just HAD to get a picture of them by the sign...as a scrapper, my mind was reeling with ideas as soon as I saw it.

This layout about my hungry boys is the result of the marriage between that photo and those papers!

journaling: Don't let those sweet faces fool you, these two boys can eat! They are always hungry! The big one more than the little one. It's funny though, they never seem to be as hungry for broccoli as they are for sugary snacks!

It's been about 10 months since I last created a 2 page layout and it feels like it's long overdue!! I really had fun with this one! I used a hodge podge of basic grey papers (oliver, periphery, perhaps, lime rickey, two scoops, and marrakech) then mixed in some stickers from BG, pink paislee, sassafras, and bella blvd to highlight some of my favorite photos that I took of Donovan during his first (and so far only) soccer season.

journaling: I was really surprised when Donovan said he didn't want to play soccer after his first season. He had a great time with his teammates and learned a lot and we had fun cheering him on. When asked why he didn't want to play anymore, he said he just doesn't want to play and he likes basketball better. Since he's into basketball and karate, we don't press the issue. As long as he's getting exercise and enjoying himself, that's all that matters to us!

Here's a closer look at the 1st page...

...and a closer look at the 2nd page...

I think I need to do 2-pagers more often...uh, but don't quote me on that! LOL!

Thanks for stopping by today!!

Monday, September 5, 2011

Summer's Unofficial End

Good day blog readers!! I have a super cute, dare I say it, winter layout to share with you today. It features Cheery Lynn Designs dies and an embossing plate.

Here in the US, we are celebrating Labor Day today!! This is always a bittersweet holiday for me. Sweet because of the 3 day "weekend" and delicious celebratory BBQ food....bitter because it marks the unofficial end of summer, which just happens to be my favorite season. I'm always sad to see summer go.

The end of summer means winter will be here before we know it. Although winter is my least favorite season, it's one of my favorite to scrap. My son LOVES winter and that means I get the best, happiest, most fun photos of him during the winter...especially in the snow!

I wanted the winter/snow theme to really standout, so I used a lot of white space to mimic the look of snow and lot of Snowflakes cut into different shapes. I even used Canadian Kaleidoscope Doily as a large snowflake embellishment.

I used my sewing machine to stitch varying lengths of horizontal lines down my layout and then added the snowflakes and half pearls to mimics falling snow.

As you can see in this close-up, I embossed the blue patterned paper with the Dots/Lines embossing plate for a textured, "snowy" look. I added snowflakes coated with silver stickles to a couple of the title letters for a fun look.

Supplies used:
Dots/Lines Embossing Plate
Snowflakes
Ribbon Eyelet Border
Luggage Tag
Index Card
School Days Font
Canadian Kaleidoscope Doily
Embossing Pad

Thanks for stopping by the blog today!! Have a safe and Happy Labor Day!

Monday, July 11, 2011

More From Cheery Lynn Designs

Happy Monday blog readers!! Today, I am sharing a card for a precious new baby and a colorful layout featuring my younger son.

I have to admit, I'm mostly a scrapbooker, but I've noticed that more and more cards have made their way into my creation zone and my Cheery Lynn Designs dies are right there to serve as the perfect accents for them!!

For this "Sweet New Baby" card, I mixed some older releases with the new to create an adorable card for a boy or girl. I added lots of texture to the background by embossing with the XL Burlap plate and then used the Border Carnivale, French Pastry Doily, and the Scalloped and Classic Nesting Circles to complete the card.


Here's a close-up of the details


I created a cheery layout about my colorful character, Xander. He's so spunky and I wanted this layout to have that same feel. I started by framing the photo using the largest of the French Flair Nesting Dies and the Grass Border.


I added a couple of fun borders at the bottom using the Scalloped Diamonds border and by connecting die cuts from the smallest of the Little Nested Coved Rectangle Stackers dies to form a ticker border. I love how versatile the dies are. Just by simply connecting die cuts together, you can form a totally different look!

I finished off my title by using the adorable Varsity font set.


Detail shots:

NOTE: the easiest way to adhere the grass border without a big mess is to use a spray adhesive.


Thanks so much for stopping by!!

Monday, May 23, 2011

Cheery Lynn Post Monday

My how quickly the days pass by when you're having fun!! Happy Monday blog readers!!

Today I am sharing with you a bright and colorful layout using Echo Park Papers and several of the Cheery Lynn Designs' newly releases dies.

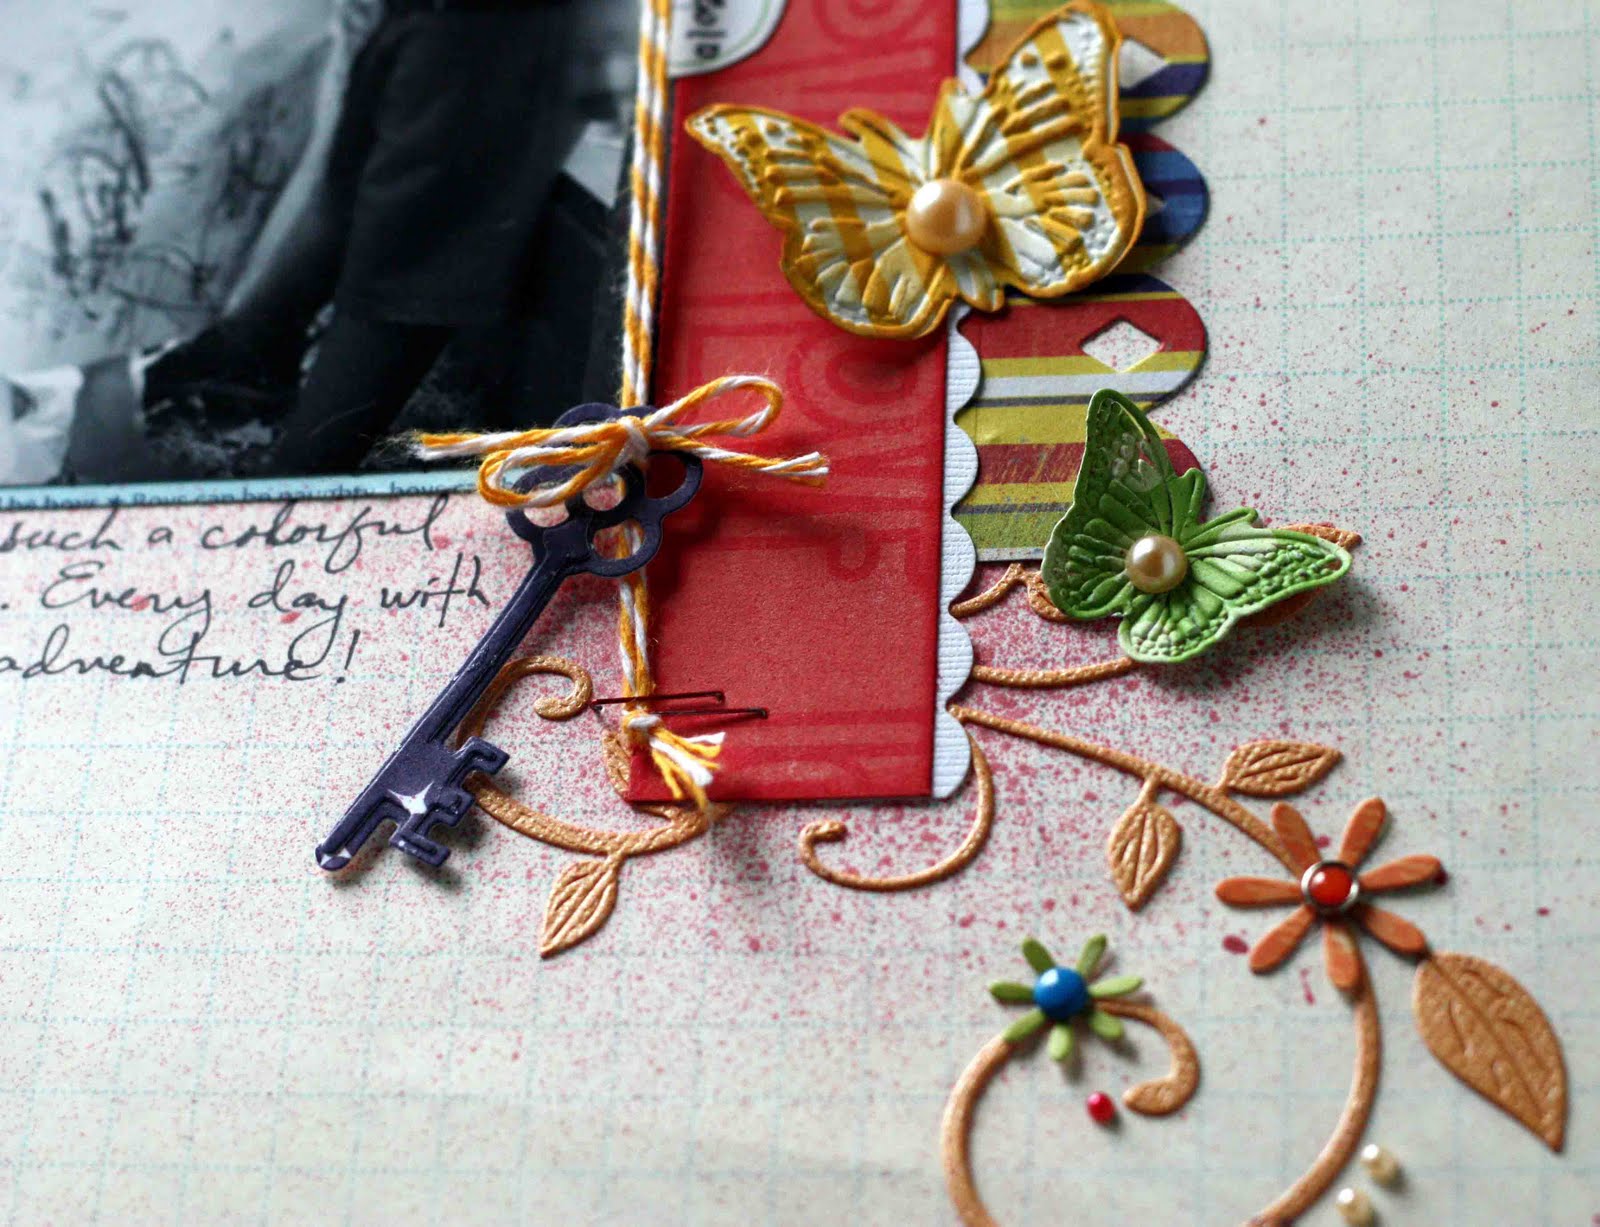
Who says you can't use flowers on a boy layout? Certainly not me! I die cut Darling Daisies, Judy's Blooms, Sweet Williams, Fanciful Flourish, and Tropical Leaves from colorful papers to add a burst of personality to and carry out the theme of my layout.


I added a few Dimensional Butterflies and used the Varstiy 5/8" Alphabet Set and one of the Coved Rectangle Nesting dies to complete the title.

I used the Key and Scalloped Diamond Border dies to further embellish my layout.


Here's a close-up of all of the flowers I used. I just love the detail!

I found the perfect way to adhere the fanciful flourish without creating a big glue-y mess; I sprayed the back of the flourishes with Helmar's V2 Vellum adhesive and then placed it on the layout and there was no mess at all!

I also created this card using basic grey Origins and Exotic Large Butterfly #1 and the Frills and Hearts Border dies.


Thanks for stopping by the blog today. Be sure to check out the contest that we are currently running on Cheery Lynn Designs blog for your chance to win 1 of 2 shopping sprees.

Until next post...have a great day!!

Monday, May 16, 2011

Flutterby Butterfly

Happy Monday everyone!! I have some really fun projects to share today! The Design Team over at Cheery Lynn Designs has been having a fun time creating with the most popular type of die...the butterflies! Oh yeah! We were challenged to think of some out of the box ways to use these dies and I'm sure you will find some inspiration in each and every project posted this week.

I created a set of magnets using the Exotic Butterfly Large #1, Exotic Butterfly Large #2, and Exotic Butterfly Large #3. I die cut each of the butterflies from a thin piece of chipboard (cereal boxes would work great for this) and 2 pieces of Basic Grey patterned paper for each butterfly magnet. I adhered the patterned die cuts to the front and back of the chipboard die cut using mod podge. Once dried, I added magnets to the back and pearls (that i made brown using alcohol inks) to the front. These were so super easy to create... I see another batch coming soon!

Here are close-ups of each butterfly magnet:


Cheery Lynn Designs has a bunch of brand new butterflies dies in store in different sizes, but there's also an oldie but goodie in the store!! The Dimensional Butterfly Bundles are still some of my favorite dies.

I die cut a few from Lily Bee papers and used them to embellish this birdcage along with a bunch of amazing new Petaloo flowers. I also used the largest die from the Classic Circles Nesting Die set to die cut a circle to line the bottom of the cage.

As you can see here, the amount of of dimension you get with these dies is just remarkable!


Petaloo Products used:

Canterbury Collection

Canterbury Roses x 6 Lemon (Yellow)

Canterbury Roses x 6 (Teal)

Mini Canterbury Asst. x 9 (Lemon Yellow)

Mini Canterbury Asst. x 9 (Marine Blue)

Flowering Vine Spray (Yellow)

Trumpet Vine Spray (Teal)

Devon Collection

Petites Mini Rose Clusters (Blue)

Petites Mini Rose Clusters (Yellow/Gold)

Glitter Critters Butterflies Dragonflies (Wht/Lt.Blu)

Thanks for stopping in! Have a wonderful week!!

Friday, December 3, 2010

3 Weeks Until The Big Day Giveaway

I had a wonderful Thanksgiving. Troy, the boys and I had dinner at my sister's house with her boyfriend and 3 children, my Mother & Father-in-law, my mom, my little sis and her boyfriend. This was my first time meeting my baby sister's boyfriend, so of course we had a lot of laughs at his expense...that's just our way of initiating him. Last year it was my middle sister's boyfriend's turn. Man, I have jokes for days! LOL! Needless to say, we laughed so hard that my stomach and cheeks were hurting by the end of the night...and my belly was full of delicious food!

I made my famous macaroni and cheese, collard greens, and spinach dip for dinner at my sister's and a more extensive meal for my family so we could have as many leftovers as we wanted. Doesn't my turkey look delish? Funny enough, it's the only photo that I have from Thanksgiving day. I took my camera with me, but I always manage to get so caught up in helping my sister with the dinner preparations that I forget to play paparazzi!

My sister and I were among the crazies who were out searching for good Black Friday sales. I managed to complete 95% of the Christmas shopping for the boys, I just need to pick up some stocking stuffers. I'm so psyched about that.

Soon we'll hear the hooves of 8 (plus Rudolph) tiny reindeer on our rooftops.

Don't worry, I didn't kidnap Santa's tiny flight assistants. LOL! These are just a couple of pictures that I took of a family of 6 "rein" deer that I found hanging out in my backyard one day last month. The watched me closely as I snapped pictures, but once I took one step past their comfort zone, they took off.

Certainly, I can't leave you without sharing a project! I created this for gonescrapbooking/examiner.com using Basic Grey Wassail collection and Petaloo Chantilly flowers and velvet leaves. The photos are of some of the decorations that I put up for Christmas.

Three weeks until Christmas!! Can't wait!! Before I log off, I have a nice little giveaway. I received my box in the mail from Cheery Lynn designs earlier this week(OMG), which means I need to make room. I have a few products from Helmar and their preferred partners to give to one lucky reader. All you have to do is post a comment here before 11:59 PM Monday, December 6 to be eligible. I will randomly select one person to receive some scrap goodies. Easy enough,right?!

Have a scrappy day!!


Tuesday, September 21, 2010

DT Projects Plus An Easy Technique

Good Tuesday morning everyone!!

Today, I want to share a couple of Design Team projects, including a quick and easy technique showing you how to add glittered polka dots to any of your projects, using Helmar Zapdots. Who doesn't live polka dots, right?

First up is a project featuring my 2 boys, Donovan and Xander, that I created for gonescrapbooking/examiner.com. I mixed products from several Pink Paislee and Basic Grey lines to create this layout.

journaling:
Sometimes being a brother is better than being a superhero. - Marc Brown

No matter which direction life takes you in, always remember to look after one another. Stick together and you can help each other through life's many obstacles. 9.7.10

Align CenterSome detail close-ups


Next, I created my card using Preferred Partner Products from Lily Bee Design, Clearsnap, PK Glitz, Hambly, and Maya Road, along with Helmar Zapdots and Professional Acid Free Glue.

092010 002

1. I Started by randomly placing the zapdots on my card.

092010 006

2. I sprinkled glitter over the zapdots and then tapped off the excess.

092010 009

3. The glitter adheres really well to the zapdots.

092010 007

4. Tip: I heated the zapdots, as if embossing them, so that the glitter doesn't fall off over time.

092010 008

Here's the finished project.

Givethankscard

Thanks so much for stopping by the the blog today!! Happy scrapping!


Friday, August 13, 2010

Procrastinator...

I should be packing right now, but as always, I'm procrastinating and putting it off until the last minute. I leave Sunday and still have lots to do! Well, at least I was able to use the time that I spent "not packing" to clean the kitchen and living room, do 2 loads of laundry, stop at the mall to buy some super cute shoes and make dinner.

I cannot wait to hop on that plane. I am going to miss my boys like CRAZY, but this will be my opportunity to unwind before the craziness of the school year is upon us.

I've been trying to make sure that the boys and I get in a lot of quality time together this summer. This past Tuesday, Donovan and I went to Dorney Park with his summer camp. We had so much fun in the water park, which is where we spent most of our time. My little wave jumper loves water! Can you tell?


I haven't created much over the past week or so...low mojo. When my creative juices aren't flowing, I turn to a sketch to get 'em going. I used one from Sketchy Thursdays and Basic Grey's Max and Whiskers to create this layout of my boys. I just love this line...the colors are great together!! Although it's a pet line, I knew I could use it for boy projects.

supplies: patterned paper- Basic Grey, cardstock- Bazzill; alpha- American Crafts; label- Dymo; gems- Kaiser Crafts, adhesive- Helmar Premium Craft Glue, Helmar Quick Fix Adhesive Runner, Helmar Zapdots

Here's a Get Well card I created a little while ago using Webster's Pages papers.

supplies: Patterned Paper Webster's Pages, cardstock- American Crafts; border punch- EK Success; scissors- provocraft; ribbon- Pink Paislee; pins- Maya Road; ink- Clearsnap; adhesive- Helmar Premium Craft Glue, Helmar Zapdots

Another quick card I created for my DT position at gonescrapbooking/examiner.com.

supplies: Patterned Paper- Bo Bunny; cardstock- American Crafts; ribbon- Offray; punches- Martha Stewart; ink- Clearsnap; pearls- Want 2 Scrap; button- Foofala

Thanks for stopping by the blog today! I hope you have a fabulous weekend!

The next time you hear from me, I'll be posting pictures from the cruise! Puerto Rico, here I come...granted I finish packing in time!! LOL!

Blog Widget by LinkWithin

My photo
I live in New Jersey with my husband and our 2 sons. I work full time as a Medical Technologist and volunteer for the Community Emergency Response Team in my town. I've been scrapping for the past 8 years and I truly love it because it allows me to combine my love of photography and my love of paper into one art form. I love teaching scrapbook classes and providing freelance work. Please contact me via email if you are interested in commissioning my services: tanisharenee74@hotmail.com

All content, including text, photographs, and artwork are copyright 2011 by Tanisha R. Long (except where noted). My original artwork is shared for personal inspiration only, not for commercial use. This includes contests, submissions, and publications. Any other use requires my expressed written consent.
MyFreeCopyright.com Registered & Protected

My Favorite Projects

Twitter


FEEDJIT Live Traffic Feed

Blog Archive

Labels