Showing posts with label technique. Show all posts

Sunday, September 2, 2012

Old and New Projects

This post will show you how easy it is to turn a plain dry erase board into a fabulous teaching tool with the help of Purple Cows Laminator and Hot Pockets!! I started by taking a dry erase board apart and removing the magnetic sheet. I measured the frame and created a background by cutting different patterned papers from Bella Blvd with the TrimIt and adding alphabet stickers to fit into the space. I laminated the background using an 8 1/2" x 11" hot pocket. The clock face, title strip and speech bubble were laminated separately from the background, cut out and then adhered to the project using foam adhesive to add dimension.

Because the project is laminated, you can write and erase just as you would with a magnetic dry erase board. NOTE: You can recreate this look using a regular picture frame. 

My younger son loves this project!  He's only 4, so he can't quite tell time yet, but he loves drawing on the hands.  Before you know it, he'll be telling time like a pro.

 
Here's are a couple of peeks or the details.


Supplies:

Purple Cows: TrimIt, Laminator, Hot Pockets
Bella Blvd: Patterned Paper, Chipboard, Stickers
Dry Erase Board

Here's another projects that I created for Purple Cow's and [my last project for] Basically Bare. 
I used the Polly’s Pocket album which has plenty of pockets for storing extra photos and memorabilia along with a ton of brightly hued papers from Bella Blvd. The album is embellished with Stack-A-Bellie Owls, Bare Basics Wings, Welcome Little One, Bare Basics Heart Set #2, Blossoms and Leaves, and Buttons, and the Large Pennant Set.

I heat embossed the handle and legs of the stroller with Metallic Silver WOW embossing Powder before covering it with patterned paper. I added a little umph to the wheels with self adhesive buttons.


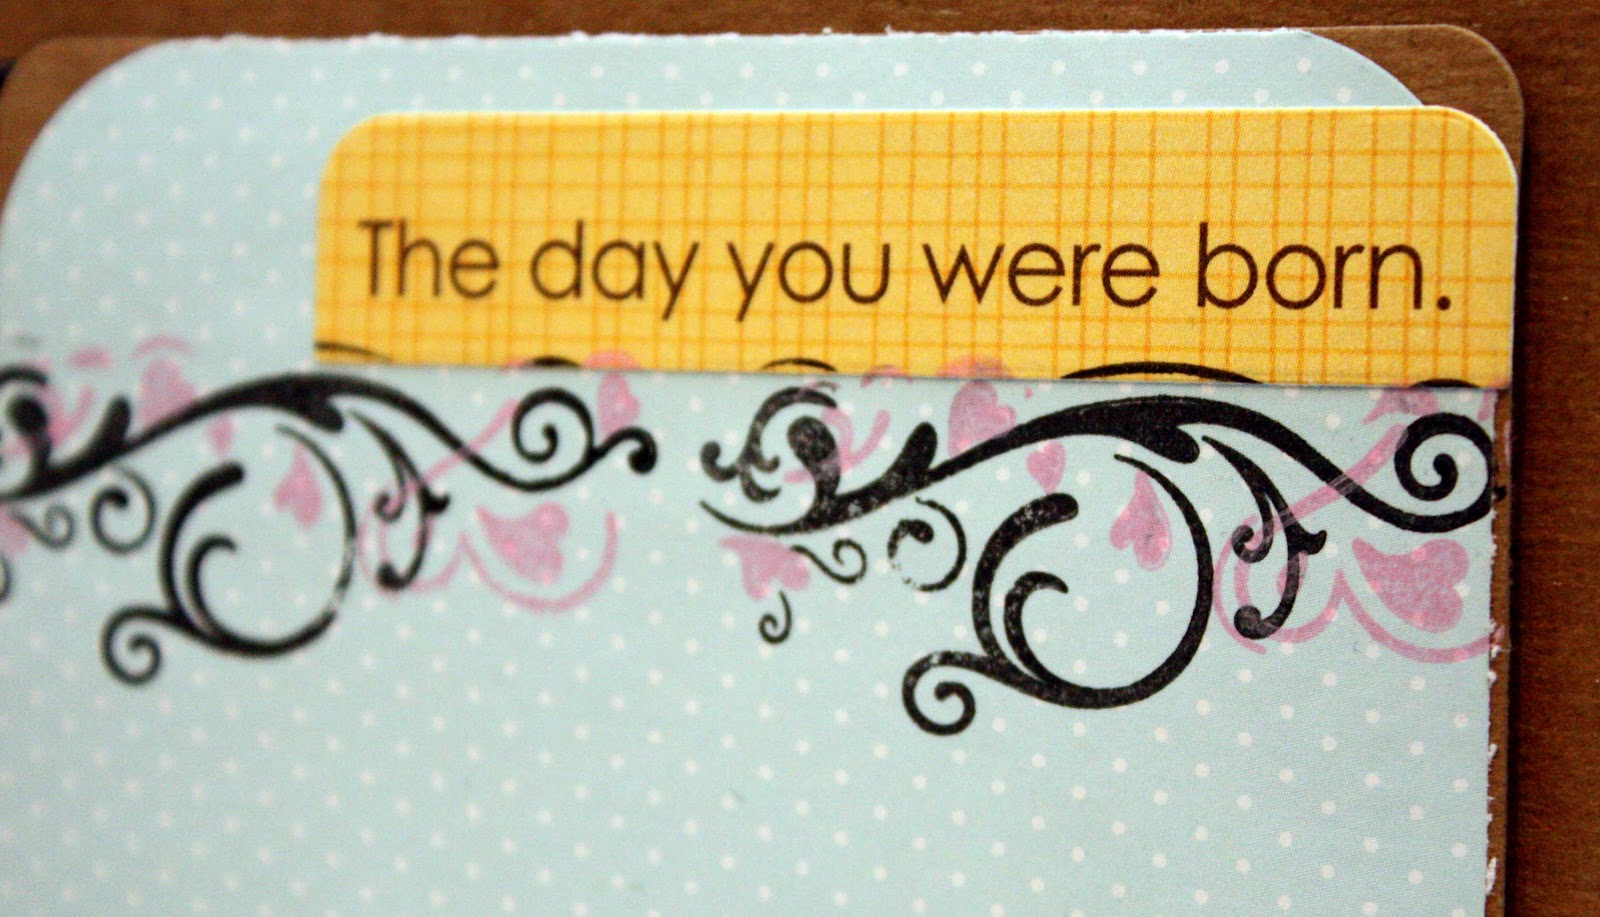
 
 I added some detail to the pages by using Purple Cows StampIt. 


I created the flower embellie by covering a chipboard flower with patterned paper, inking the edges and adhering a sticker with pop dots.

 
I used Zig Fabricolor Pens to add color to the felt banner.


I had a lot of fun creating the rattle! I heat embossed the handle and covered the top in patterned paper. I used a blister from product packaging to serve as the dome of the rattle. I filled it with beads and glitter and hot glued it to the rattle.

 
I used clear snaps spray ink to add color to the canvas heart.


 I love the stackable embellishments because there are so many options for customizing them.


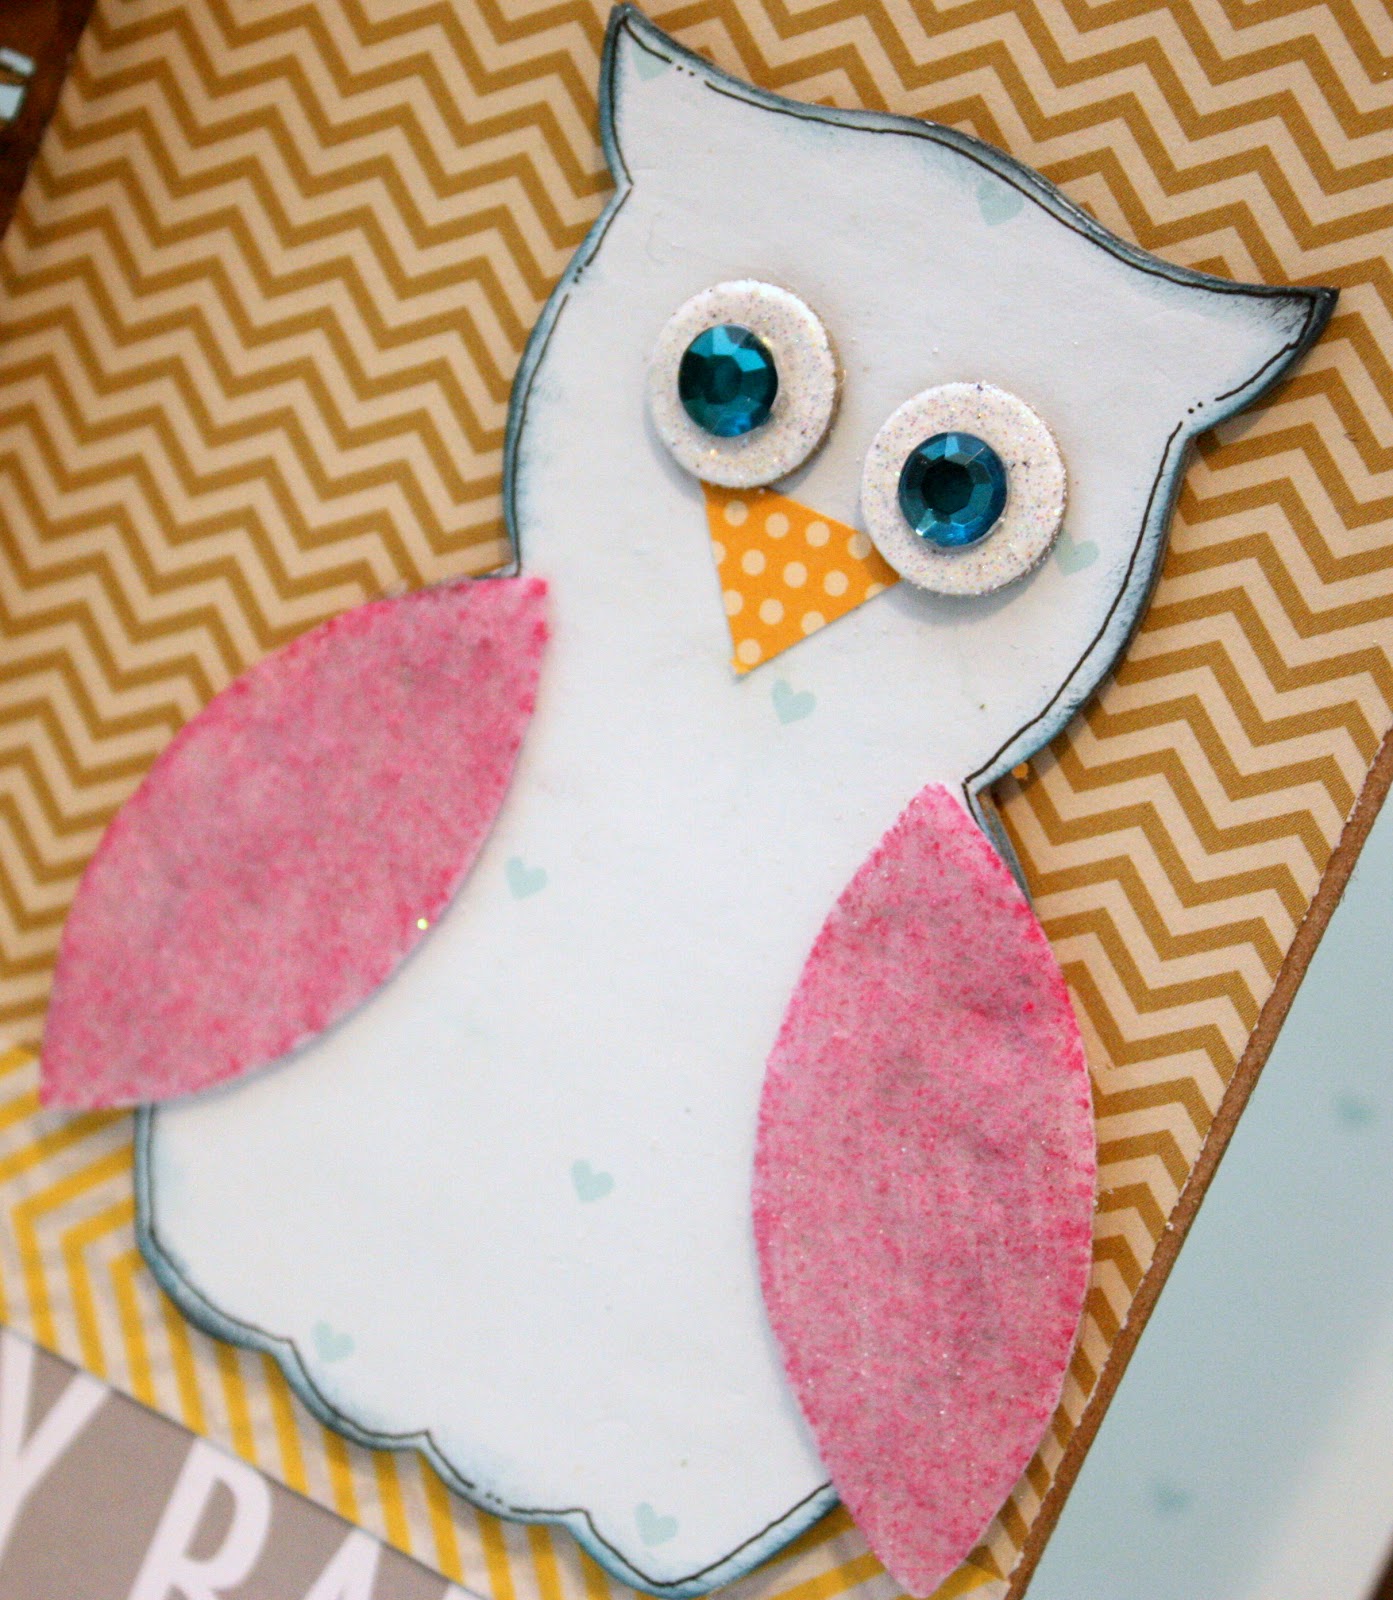
I used Zig Fabricolor pens to color the wngs of the owl, and then dresed him in patterned paper and gems for his eyes.


As always, thank you for stopping by.  Have a great holiday!!


Monday, August 27, 2012

Creative Imaginations/Faber-Castell Blog Hop

Creative Imaginations and Faber-Castell Design Memory Craft designers have teamed up for a fabulous blog hop from August 27-31st! Hop with us today for craft ideas, inspiration and tutorials! Don’t forget to leave a comment on each blog for a chance to win!

Creative Imaginations and Faber-Castell Design Memory Craft will each be giving away a $50 prize pack! The blog hop will end at midnight on August 31st. The two winners will be announced on the companies’ blogs on September 4th. Ready to be inspired?

I colored this canvas with Aquarelle Watercolor Pencils (blue) then spritzed with water and blended the colors with my fingers.  I used the Stamper's Big Brush from the Mix & Match Mixed Media Sampler to color a script stamp and stamped on the background.  After heat embossing the white circles, I used the Neutral Gelato to add another layer of color to the canvas (I blended with my fingers). I traced the large words and butterflies (adhered to the canvas using Gel medium) with blue water colors and used a wet paint brush to blend into the background.  I used Mix & Match Art Grip Color Pencils to add definition to the journaling.

As a finishing touch, I painted the smaller butterflies with Egyptian Gold Luminarte Radiant Rain Shimmering Mist and flicked Autumn Leaf Luminarte Radiant Rain Shimmering Mist onto the background.


Next stop is Rita's blog.  Below is a list of the order of the hop.


Start hopping!!

START AT: Faber-Castell http://designmemorycraft.typepad.com/design-memory-craft/
Tanisha Long http://tanisharenee.blogspot.com/  **YOU ARE HERE***
Rita Barakat http://letsembellish.blogspot.com/
Shelley Hamilton http://shelleyscraps.blogspot.com/
Jill Foster http://stampinginspiredby.blogspot.com/
Lynne Forsythe http://lynneforsythe.blogspot.com/
Tiffany Johnson http://iheartartblog.com/
Alicia Giess http://inspiredandblessed.blogspot.com/
Jen Matott http://arttalk-sigmagirl.blogspot.com/
Donna Bryant http://www.donnabryantdurand.blogspot.com
Colleen McGinty http://artbythelake.typepad.com/my-blog
Lynn Kopas www.lynnkopas.typepad.com
Mou Saha http://collagecollagecollage.blogspot.com/
Jules Eickmeier http://jules-atoasttoalteredart.blogspot.com/
END AT: http://creativeimaginations.typepad.com

Creative Imaginations Products Used:
Preposterous Collection
29310 Playful
Oceanside Collection
29202 Del Mar
29207 Oceanside Stickers
26398 Autumn Leaf Luminarte Radiant Rain Shimmering Mist
26402 Egyptian Gold Luminarte Radiant Rain Shimmering Mist

Faber-Castell Products Used:
Aquarelle Watercolor Pencils- Blue
Art Grip Color Pencils- Neutral
Textural Accents Sampler
Mixed Media Sampler- Neutral


Sunday, July 22, 2012

12x12 Canvas

Hey there blog readers, I'm here with another project featuring one of the new lines, Just Because and QQ's 12x12 canvas.

Canvas is one of my favorite mediums, so needless to say, I had a ball with this!!  Creating the frame around the edge was really easy, but takes a little patience.


I started by randomly tearing all 4 edges off of a scrap piece of 12x12 paper. (final size was about 10.5 square give or take) I used repositionable adhesive to adhere the scrap paper to the center of the canvas. Next, I used 2 different stamps and embossing ink to stamp on the exposed canvas, 1 side at a time. Once I finished one side, I poured WOW Embossing Powder in Opaque Bright White on the image and then tapped off the excess. Once all 4 sides were coated, I removed the scrap paper and  used a heat gun to melt the powder.
I then used an inking sponge and Quick Quote's PowderPuff Chalking Inks in Baja Blue, Mocha Mama, and Green With Envy to add color to the edges.  I re-adhered the scrap paper to the center and continued to add ink until I was satisfied with the look.  (the frame took on the shape of the scrap paper) 
I used a damp paper towel to remove the excess ink from the embossing.  The embossing acts as a resist and you will see all of the different inks in the recesses.  This is one of my favorite techniques. 
I lightly spritzed the center with misting inks in 2 different colors before adding photos and embellishments to the canvas.  I matted the photo using JB-400 and then framed it with images cut from JB-100 and JB-400.  I cut strips from the new vellum strips to serve as part of my title and journaling.

I added the hot air balloon from the 8x10 Chipboard Balloon set.


I added texture to the hand cut items using buttons and twine.


Thanks for stopping by today.   More great projects are coming up, so check back soon!!

Products Used:
Quick Quotes Just Because (JB-100, JB-400)
Unforgettable Moments Vellum Strip
Memories Vellum Strip
PowderPuff Chalking Ink (Baja Blue, Mocha Mama, Green With Envy)
Balloon 8x10 Chipboard
12x12 Canvas

Embossing Powder- WOW Embossing Powders
Foam Alpha- American Crafts
Buttons, twine

Saturday, March 17, 2012

52 Week Photos Mini Album

Remember the 52 week project that I did last year? Well, I took my favorite photos and scrapped them in this mini album by Basically Bare. The Rowdy Roadster mixed media album is a mixed media that was released this past CHA. I turned this album into a technique “free-for-all”! I painted, stamped, stickled, heat and dry embossed, and glittered until I liked the results.

I also used canvas leaves from the Bare Basics Blossoms and Leaves set, a chipboard filmstrip from the Paparazzi Embellie Set, and a chipboard and cardboard dress form from the Dress Me Up Dress forms set, and buttons.

I used WOW embossing powder in high gloss silver on the filmstrip and then swiped it with charcoal ink and white acrylic paint. I dry embossed the dress form and then heat embossed it using copper WOW embossing powder and then covered the bottom with strips of rosettes that were spritzed with shimmering mist. I added feathers (which are really hot right now) and pearls to really “girlify” the dress form. Before adhering the embellishments to the acrylic cover, I added a glittered flourish and swiped the back with white acrylic paint.

I added another dress form to the inside cover. I tore away the first layer of cardboard to reveal the ridges. I lightly painted it with white acrylic paint and stamped it using a stamp from WOW’s Call Me Stamp set to add the script print.
I love how the different shaped pages add so much character to this album.

I painted the canvas leaf with glimmer glaze. Once dried, I slightly curled the end to add dimension.
I created the background of this page by inking over a Tim Holtz mask and embossing with WOW powder in earth tone olive.
I ran both tags through the cuttlebug before swiping with acrylic paint and adding stickles. I love the texture that the dry embossing adds!
I swiped both with white acrylic paint so that they would stand out against the the canvas page that follows. I hot glued feathers and Petaloo flowers to the top tag and coated the embossed flourish with PK Glitz glitter on the bottom tag. I tied tulle through both tags for an added feminine touch.
This canvas page was really fun to work on. I embossed the page using WOW embossing powder in earth tone nutmeg and WOW’s brocade stamp. I have to admit, heat embossing such a large canvas area was tedious work. I had to heat it longer than paper but just shy of actually burning the fabric. Once that was done, I stitched around the page, about 1/2″ from the edge and then frayed and inked the edges.
The stitching and fraying were already done from the front side of this page. I used a mask and shimmering mist to create the background and then added rub-ons and embellishments once the page was fully dried.
This tag is wonderful for displaying either a couple of small photos or one large photo. I chose to keep the embellishments simple and added 2- 5×7 photos (one to either side of the page) and sheer ribbon for a pop of color.
I tore off the top layer of the inside of the back cover and covered the bottom with patterned paper. I painted, stamped, and added rub-ons to the exposed ridges. I nestled a felt Stack-A-Bellies Bird in the strip of rosettes, but not before spritzing it with Silver Foil glimmer mist. I attached a chipboard wing that was coated with glitter and then added pen work to the bird.
I covered the back cover with patterned paper and added strips of tulle to the rings to finish off the album.

This is probably the chunkiest album I’ve ever made, but I love every inch of it!! That’s all for now…until next post…happy scrapping!!

Friday, January 13, 2012

Scrap Yourself

...that has been my scrapping motto for a long time now. That was also one of the motivating forces behind my participation in the 52 Week Project--so I'd have updated pictures for the scrapbooking pages about me. I believe that it is equally important to document my story as it in my family's.

Having said that, I have a layout to share featuring one of the pictures that I took last month. I used a couple of Basically Bare pieces: canvas leaves from the Blossoms & Leaves set and the film strip border from the Paparazzi Set.

I cut the film strip into pieces in order to use a strip as a border on my layout. I set aside the rest to use on another project.

I added crackle accents to the border strip for added interest.

The chipboard "48" was originally black and glittered, but I peeled the top layer off and then embossed using WOW embossing Powder in earthtone honey from the Suzy West collection. I just love the deeply textured look!

I took 2 leaves from the package, folded them in half and stapled close to the fold. I then used WOW’s “Call Me” stamp set to stamp the leaves.

Here’s a close up of one of the canvas leaves and the scalloped border that I stamped and embossed with WOW embossing powder in earth tone honey.

Creating the border was really easy. I pressed the cap of the embossing powder jar into my embossing ink and then stamped on my page as I would using any regular stamp.


I poured earthtone honey over the stamped image, dumped off the excess and heat embossed until completely melted.

That's all for today!! I will have tons of CHA projects to share...soon enough! Have a great day!

Blog Widget by LinkWithin

My photo
I live in New Jersey with my husband and our 2 sons. I work full time as a Medical Technologist and volunteer for the Community Emergency Response Team in my town. I've been scrapping for the past 8 years and I truly love it because it allows me to combine my love of photography and my love of paper into one art form. I love teaching scrapbook classes and providing freelance work. Please contact me via email if you are interested in commissioning my services: tanisharenee74@hotmail.com

All content, including text, photographs, and artwork are copyright 2011 by Tanisha R. Long (except where noted). My original artwork is shared for personal inspiration only, not for commercial use. This includes contests, submissions, and publications. Any other use requires my expressed written consent.
MyFreeCopyright.com Registered & Protected

My Favorite Projects

Twitter


FEEDJIT Live Traffic Feed

Blog Archive

Labels