Showing posts with label mini album. Show all posts

Sunday, September 2, 2012

Old and New Projects

This post will show you how easy it is to turn a plain dry erase board into a fabulous teaching tool with the help of Purple Cows Laminator and Hot Pockets!! I started by taking a dry erase board apart and removing the magnetic sheet. I measured the frame and created a background by cutting different patterned papers from Bella Blvd with the TrimIt and adding alphabet stickers to fit into the space. I laminated the background using an 8 1/2" x 11" hot pocket. The clock face, title strip and speech bubble were laminated separately from the background, cut out and then adhered to the project using foam adhesive to add dimension.

Because the project is laminated, you can write and erase just as you would with a magnetic dry erase board. NOTE: You can recreate this look using a regular picture frame. 

My younger son loves this project!  He's only 4, so he can't quite tell time yet, but he loves drawing on the hands.  Before you know it, he'll be telling time like a pro.

 
Here's are a couple of peeks or the details.


Supplies:

Purple Cows: TrimIt, Laminator, Hot Pockets
Bella Blvd: Patterned Paper, Chipboard, Stickers
Dry Erase Board

Here's another projects that I created for Purple Cow's and [my last project for] Basically Bare. 
I used the Polly’s Pocket album which has plenty of pockets for storing extra photos and memorabilia along with a ton of brightly hued papers from Bella Blvd. The album is embellished with Stack-A-Bellie Owls, Bare Basics Wings, Welcome Little One, Bare Basics Heart Set #2, Blossoms and Leaves, and Buttons, and the Large Pennant Set.

I heat embossed the handle and legs of the stroller with Metallic Silver WOW embossing Powder before covering it with patterned paper. I added a little umph to the wheels with self adhesive buttons.


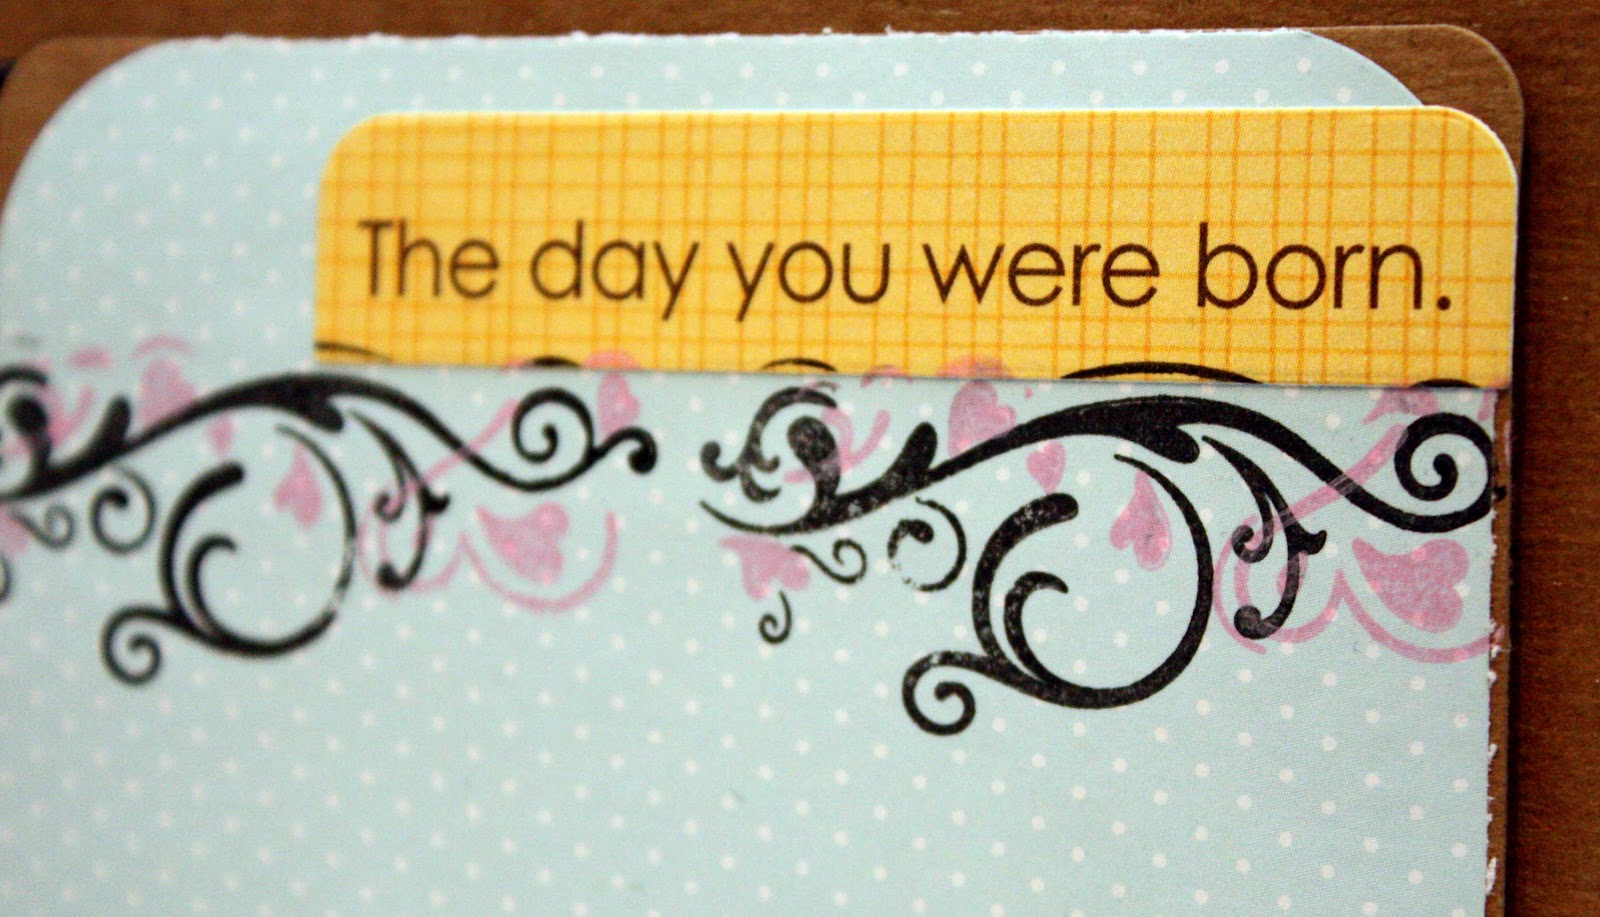
 
 I added some detail to the pages by using Purple Cows StampIt. 


I created the flower embellie by covering a chipboard flower with patterned paper, inking the edges and adhering a sticker with pop dots.

 
I used Zig Fabricolor Pens to add color to the felt banner.


I had a lot of fun creating the rattle! I heat embossed the handle and covered the top in patterned paper. I used a blister from product packaging to serve as the dome of the rattle. I filled it with beads and glitter and hot glued it to the rattle.

 
I used clear snaps spray ink to add color to the canvas heart.


 I love the stackable embellishments because there are so many options for customizing them.


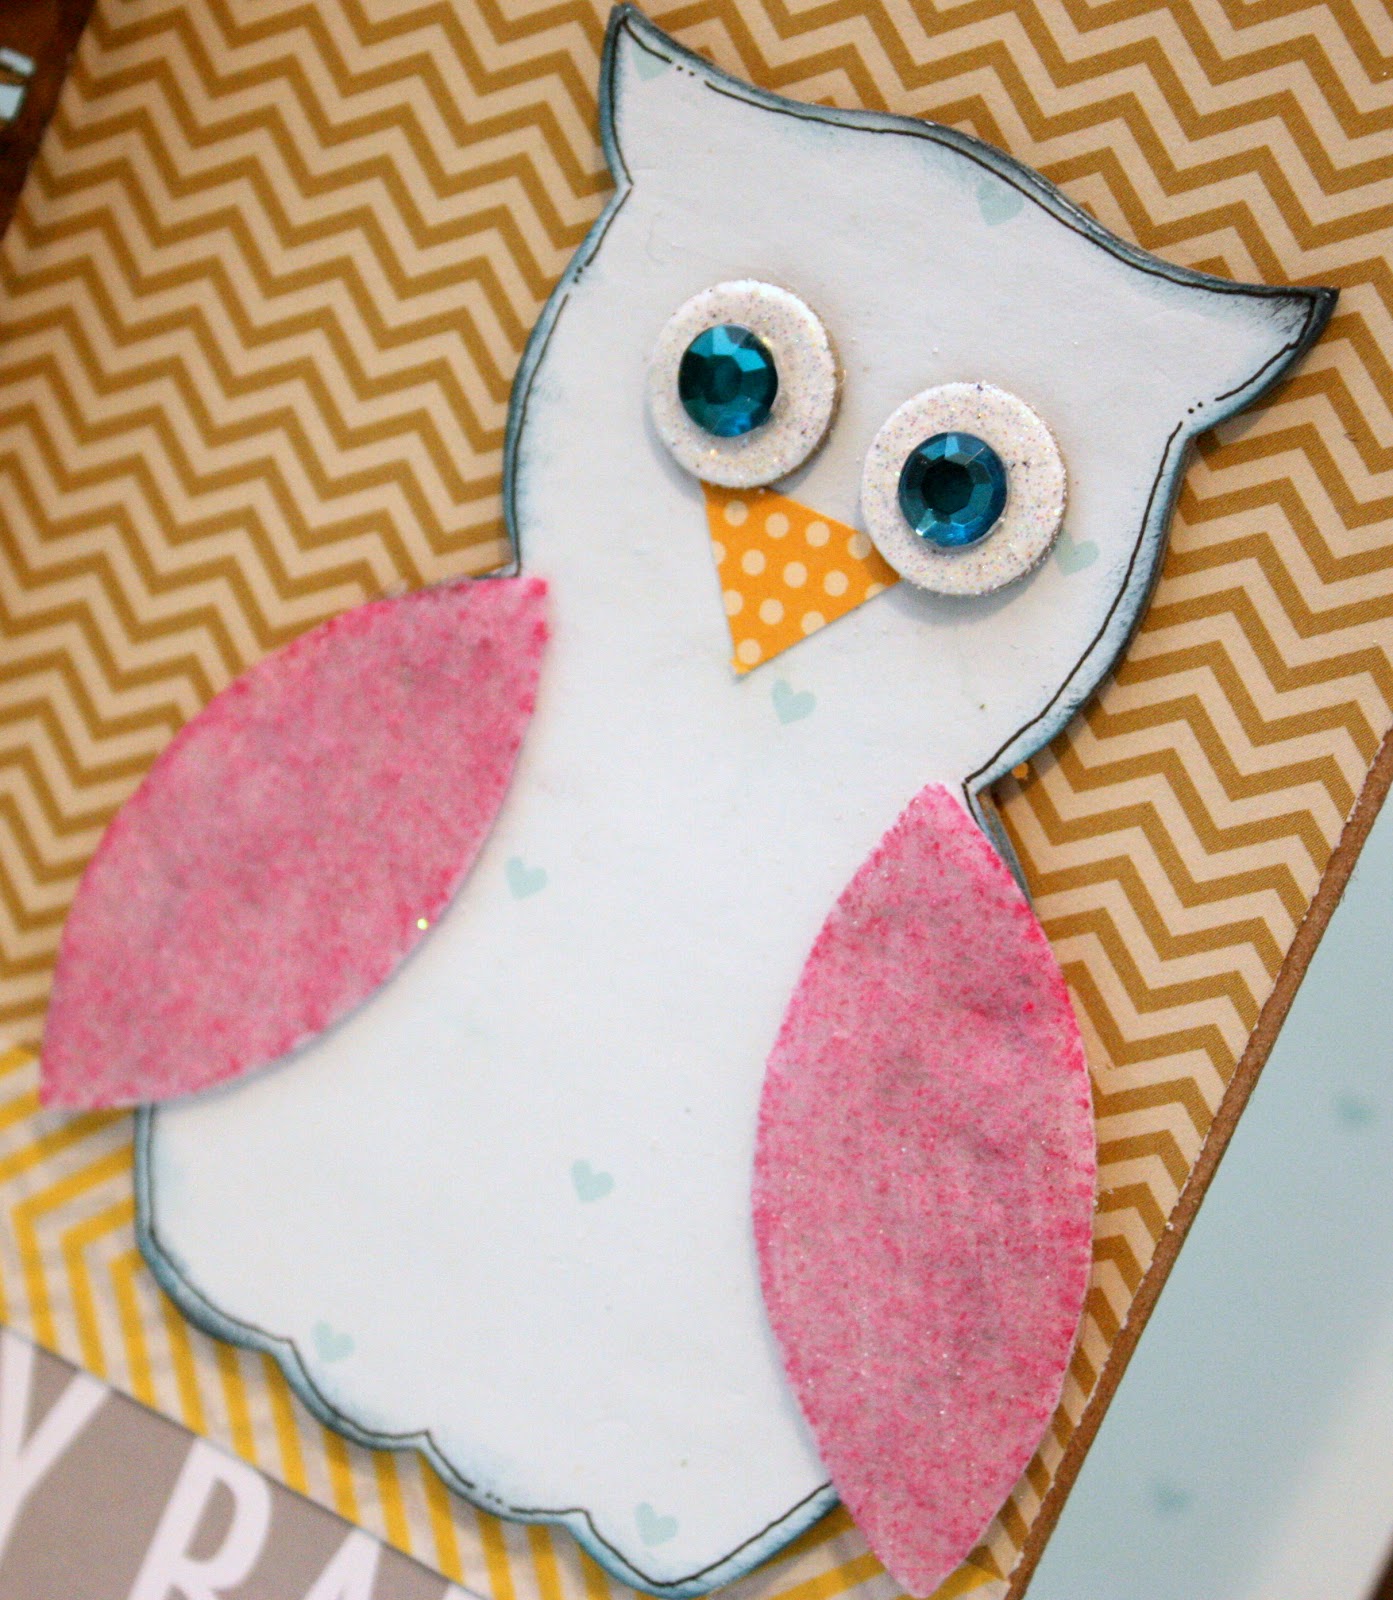
I used Zig Fabricolor pens to color the wngs of the owl, and then dresed him in patterned paper and gems for his eyes.


As always, thank you for stopping by.  Have a great holiday!!


Saturday, July 21, 2012

Back 2 School - CHA-S 201

Just sharing a couple of projects that I created for Creative Imaginations for CHA Summer.  This adorable line, Back 2 School, was designed by Debbi Mumm.  Don't you just love those owls? 


Saturday, June 16, 2012

QQ Journey Post

I'm here sharing nothera Quick Quotes post with you. I created this little mini album in preparation for my vacation.  I covered it with papers from Tin Type and inked the edges with PowderPuff Chalking Ink in Mocha Momma, so all I have to do is add photos and journaling!

I just one of the journaling blocks from Tin Type 500, inked the edges and layered it on the cover.  I cut the straps from Treasure Chest Vellum Overlay, adhered them to white cardstock strips and then to the cover.


I created this embellishment using the Bag O' Chips stackable flower pieces.  I inked each piece with Mango Mai Tai PowderPuff Chalking Ink and the edged with Mocha Momma PowderPuff Chalking Ink, then sporadically heat embossed with WOW embossing Powder.   I added a star brad to the center of the top piece and then adhered the layers with pop dots.


Here's a peek at the inside


...and the back cover


Products used:
Tin Type 100, 200, 300, 400, 500
Treasure Chest Vellum Overlay
Stackable Flowers Bag O' Chips
PowderPuff Chalking Ink - Mango Mai Tai, Mocha Momma

Thursday, April 26, 2012

Upcoming Class

I'm teaching this mini album class featuring Creative Imaginations Devotion line and Basically Bare's Polly's Pocket mini album at the National Scrapbook Day Crop in Trumbull, CT.  For more check out the Divas Scrapbookers of Connecticut page on facebook.

Beautiful Mini Album Class
when: May 19th
 cost: $35.00
time: 3 hours
Max # of students: 20


Saturday, March 17, 2012

52 Week Photos Mini Album

Remember the 52 week project that I did last year? Well, I took my favorite photos and scrapped them in this mini album by Basically Bare. The Rowdy Roadster mixed media album is a mixed media that was released this past CHA. I turned this album into a technique “free-for-all”! I painted, stamped, stickled, heat and dry embossed, and glittered until I liked the results.

I also used canvas leaves from the Bare Basics Blossoms and Leaves set, a chipboard filmstrip from the Paparazzi Embellie Set, and a chipboard and cardboard dress form from the Dress Me Up Dress forms set, and buttons.

I used WOW embossing powder in high gloss silver on the filmstrip and then swiped it with charcoal ink and white acrylic paint. I dry embossed the dress form and then heat embossed it using copper WOW embossing powder and then covered the bottom with strips of rosettes that were spritzed with shimmering mist. I added feathers (which are really hot right now) and pearls to really “girlify” the dress form. Before adhering the embellishments to the acrylic cover, I added a glittered flourish and swiped the back with white acrylic paint.

I added another dress form to the inside cover. I tore away the first layer of cardboard to reveal the ridges. I lightly painted it with white acrylic paint and stamped it using a stamp from WOW’s Call Me Stamp set to add the script print.
I love how the different shaped pages add so much character to this album.

I painted the canvas leaf with glimmer glaze. Once dried, I slightly curled the end to add dimension.
I created the background of this page by inking over a Tim Holtz mask and embossing with WOW powder in earth tone olive.
I ran both tags through the cuttlebug before swiping with acrylic paint and adding stickles. I love the texture that the dry embossing adds!
I swiped both with white acrylic paint so that they would stand out against the the canvas page that follows. I hot glued feathers and Petaloo flowers to the top tag and coated the embossed flourish with PK Glitz glitter on the bottom tag. I tied tulle through both tags for an added feminine touch.
This canvas page was really fun to work on. I embossed the page using WOW embossing powder in earth tone nutmeg and WOW’s brocade stamp. I have to admit, heat embossing such a large canvas area was tedious work. I had to heat it longer than paper but just shy of actually burning the fabric. Once that was done, I stitched around the page, about 1/2″ from the edge and then frayed and inked the edges.
The stitching and fraying were already done from the front side of this page. I used a mask and shimmering mist to create the background and then added rub-ons and embellishments once the page was fully dried.
This tag is wonderful for displaying either a couple of small photos or one large photo. I chose to keep the embellishments simple and added 2- 5×7 photos (one to either side of the page) and sheer ribbon for a pop of color.
I tore off the top layer of the inside of the back cover and covered the bottom with patterned paper. I painted, stamped, and added rub-ons to the exposed ridges. I nestled a felt Stack-A-Bellies Bird in the strip of rosettes, but not before spritzing it with Silver Foil glimmer mist. I attached a chipboard wing that was coated with glitter and then added pen work to the bird.
I covered the back cover with patterned paper and added strips of tulle to the rings to finish off the album.

This is probably the chunkiest album I’ve ever made, but I love every inch of it!! That’s all for now…until next post…happy scrapping!!

Friday, February 24, 2012

WOW Basically Bare

Hey there, it's been a while since my last post. I have a good reason for my absence...I started a new job about 3 weeks ago and am still trying to find a way to fit it all in...scrapbooking, gym time, family time, computer time...and sleep. LOL! Although I haven't scrapped in a long time...too long as a matter of fact, I still have some projects to share. I created these mini albums for the Basically Bare booth at CHA.

I used Basically Bare chipboard and acrylic accents, Simple Stories patterned paper, and WOW embossing powder and stamps to highlight the photos of our summertime activities.

I used Basically Bare chipboard accents, Graphic 45 patterned paper, Petaloo flowers, and WOW embossing powder and stamps to highlight the photos of my trip to Bermuda.

Thanks so much for stopping by today!!
Blog Widget by LinkWithin

My photo
I live in New Jersey with my husband and our 2 sons. I work full time as a Medical Technologist and volunteer for the Community Emergency Response Team in my town. I've been scrapping for the past 8 years and I truly love it because it allows me to combine my love of photography and my love of paper into one art form. I love teaching scrapbook classes and providing freelance work. Please contact me via email if you are interested in commissioning my services: tanisharenee74@hotmail.com

All content, including text, photographs, and artwork are copyright 2011 by Tanisha R. Long (except where noted). My original artwork is shared for personal inspiration only, not for commercial use. This includes contests, submissions, and publications. Any other use requires my expressed written consent.
MyFreeCopyright.com Registered & Protected

My Favorite Projects

Twitter


FEEDJIT Live Traffic Feed

Blog Archive

Labels