Showing posts with label purple cows. Show all posts

Sunday, September 2, 2012

Old and New Projects

This post will show you how easy it is to turn a plain dry erase board into a fabulous teaching tool with the help of Purple Cows Laminator and Hot Pockets!! I started by taking a dry erase board apart and removing the magnetic sheet. I measured the frame and created a background by cutting different patterned papers from Bella Blvd with the TrimIt and adding alphabet stickers to fit into the space. I laminated the background using an 8 1/2" x 11" hot pocket. The clock face, title strip and speech bubble were laminated separately from the background, cut out and then adhered to the project using foam adhesive to add dimension.

Because the project is laminated, you can write and erase just as you would with a magnetic dry erase board. NOTE: You can recreate this look using a regular picture frame. 

My younger son loves this project!  He's only 4, so he can't quite tell time yet, but he loves drawing on the hands.  Before you know it, he'll be telling time like a pro.

 
Here's are a couple of peeks or the details.


Supplies:

Purple Cows: TrimIt, Laminator, Hot Pockets
Bella Blvd: Patterned Paper, Chipboard, Stickers
Dry Erase Board

Here's another projects that I created for Purple Cow's and [my last project for] Basically Bare. 
I used the Polly’s Pocket album which has plenty of pockets for storing extra photos and memorabilia along with a ton of brightly hued papers from Bella Blvd. The album is embellished with Stack-A-Bellie Owls, Bare Basics Wings, Welcome Little One, Bare Basics Heart Set #2, Blossoms and Leaves, and Buttons, and the Large Pennant Set.

I heat embossed the handle and legs of the stroller with Metallic Silver WOW embossing Powder before covering it with patterned paper. I added a little umph to the wheels with self adhesive buttons.


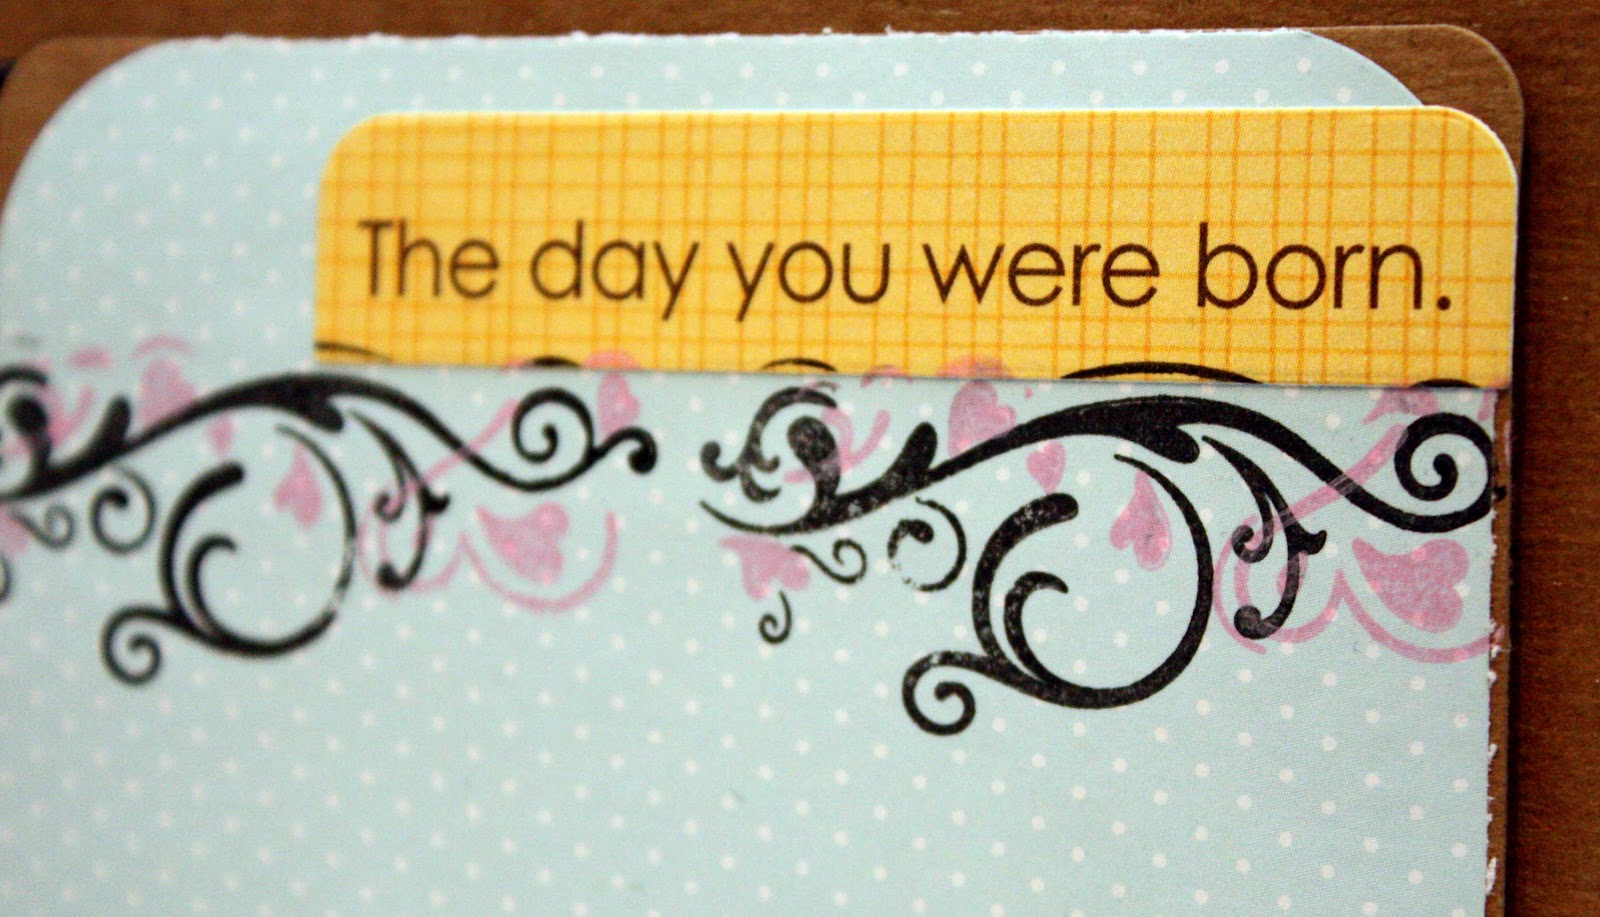
 
 I added some detail to the pages by using Purple Cows StampIt. 


I created the flower embellie by covering a chipboard flower with patterned paper, inking the edges and adhering a sticker with pop dots.

 
I used Zig Fabricolor Pens to add color to the felt banner.


I had a lot of fun creating the rattle! I heat embossed the handle and covered the top in patterned paper. I used a blister from product packaging to serve as the dome of the rattle. I filled it with beads and glitter and hot glued it to the rattle.

 
I used clear snaps spray ink to add color to the canvas heart.


 I love the stackable embellishments because there are so many options for customizing them.


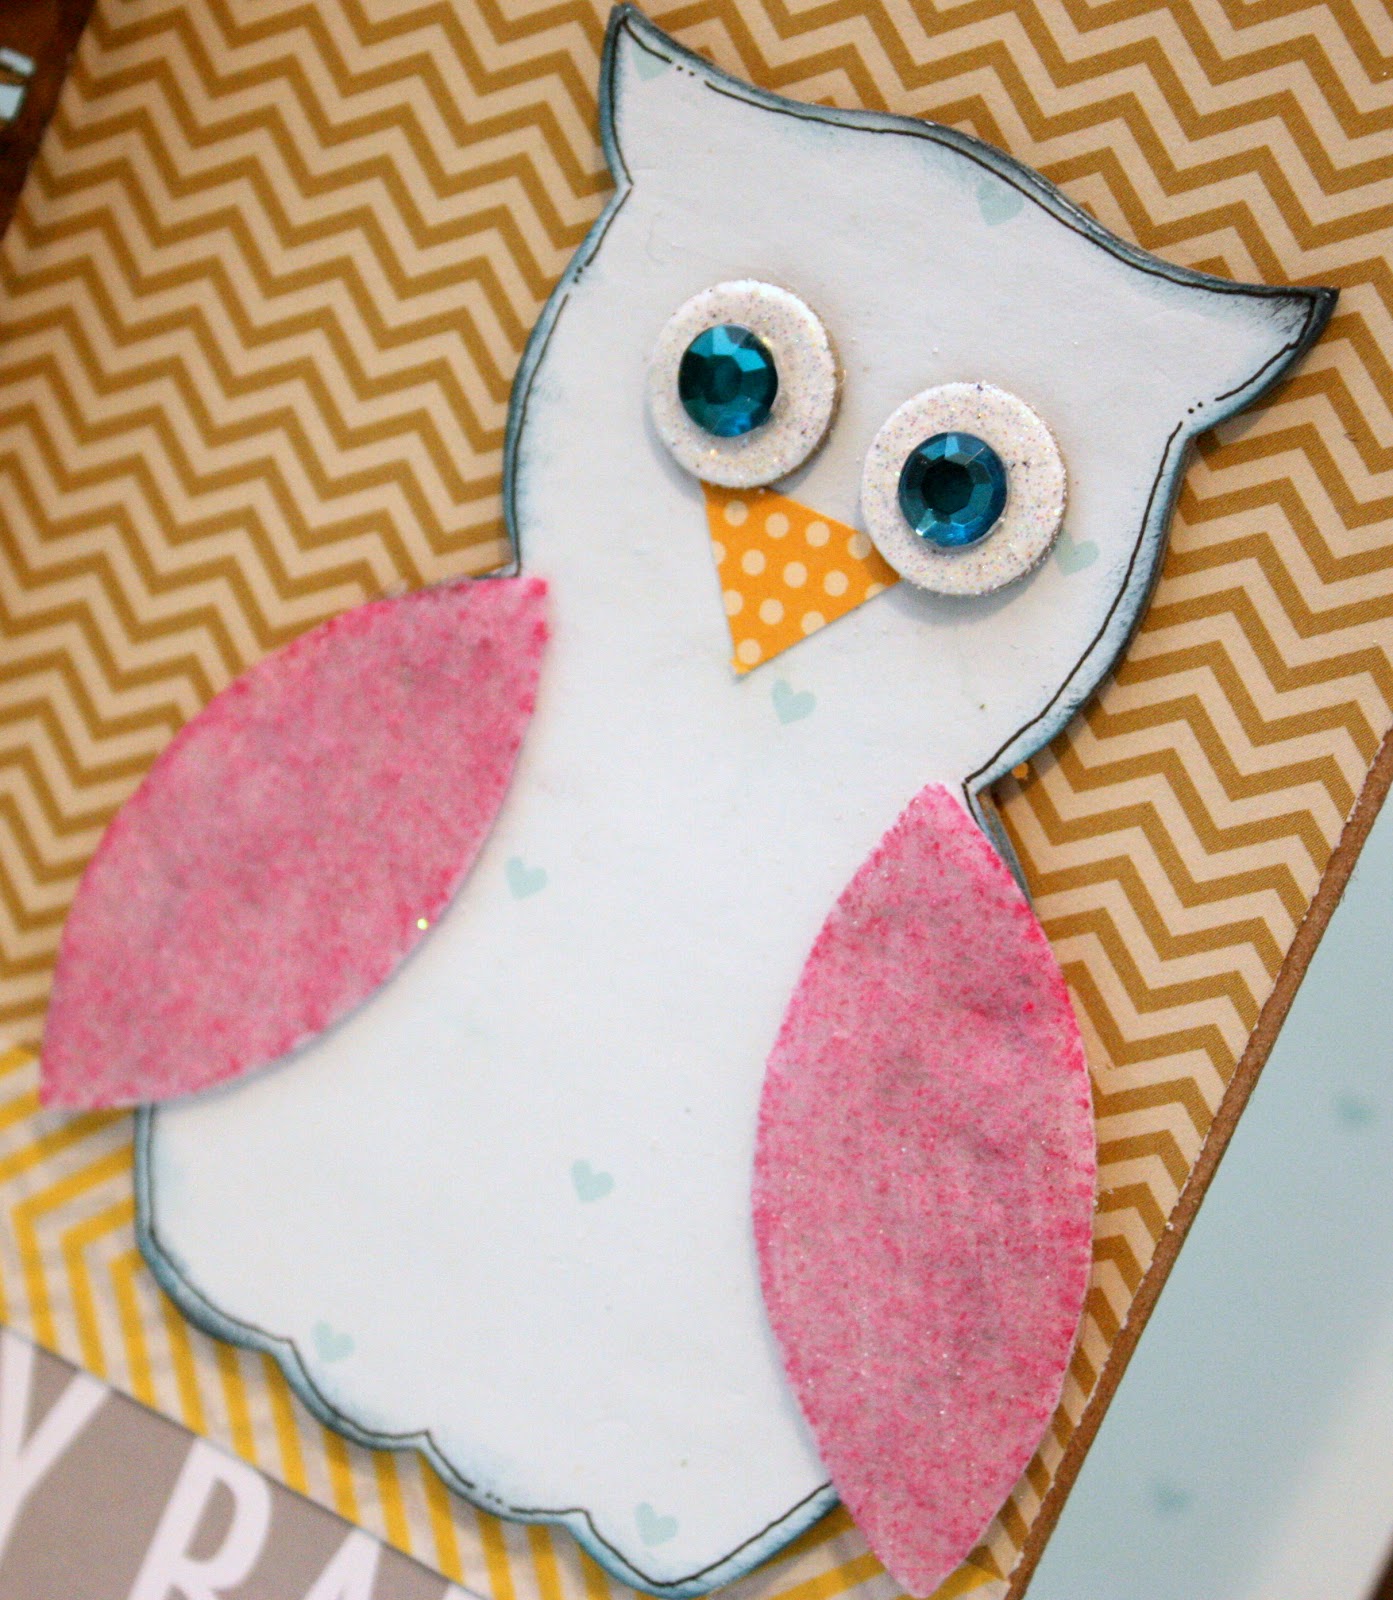
I used Zig Fabricolor pens to color the wngs of the owl, and then dresed him in patterned paper and gems for his eyes.


As always, thank you for stopping by.  Have a great holiday!!


Wednesday, May 16, 2012

Mommy and Me

Hey there blog readers, I'm here with a blog post featuring none other than mom.  Mother's Day was a couple days ago.  Did you have a good day?  I did, although it was pretty low key.   
I created this layout for Quick Quotes to serve as a thank you letter to my mom.  Having such a close relationship with her has given me the ability to cultivate great relationships with other women.  In essence, I have her to thank for all of the beautiful friendships that I have made and maintained over the years.


This month, the Quick Quotes are not only focusing on Mother's Day projects, were are also focusing on the PowderPuff Chalking Inks.  I love the subtle dimension that inking creates.  I used Tahiti here to ink the edge of the vellum quote.  I used Bloody Mary on the patterned paper covered chipboard.


Inking doesn't have to be tone on tone.  As you can see here, I embossed the butterfly with white powder and then inked the edges with Tahiti to add a pop of color.


Quick Quotes Products:
Summer Samba 400
PowderPuff Chalk Ink: Bloody Mary, Tahiti

I created a couple of Mother's Day cards for the Purple Cows blog using a couple of the new CraftGeek punches.  To see full instructions and details, check out the blog.

I actually ended up giving this one to my mom on Mother's Day.  She loved it!!


That's all for now,

Thursday, May 3, 2012

Latest From Purple Cows

Well would you look at that...another blog post this week. Woohoo!!  

Today, I'm sharing a couple of projects that I created for Purple Cows.  Have you seen the new CraftGeek line, yet.  If not, check it out on the website.  I used a PunchIt on both of these layouts.


I used PunchIt Solstice and Creative Imaginations corrugated paper to create my own embellishments here.  All other papers and embellishments are from Momenta.


I used the PunchIt Autumn to punch designs in the corner of this layout to help frame the photos of my cutie pies and the WindIt  to create "hangers" for the banner.


Thank you for stopping by today!!  Until next post...have a scrappy day!

Monday, April 23, 2012

Purple Cows Blog Hop

Hello and welcome to Purple Cow's blog hop!!   If you've hopped here from  Elisa's fabulous blog, then you are well on your way and will continue to be treated to some wonderful eye candy from our terrific DT members!!

 If you just happened to pop in on my blog, please join us...I guarantee you'll have a great time and gain a ton of inspiration. Just go back Purple Cows' blog and start from there. Be sure to leave comments on each blog and make it all the way to the end of the hop for a chance to win some great RAKs from Purple Cows!!! How fab is that?

Purple Cows has some terrific new tools in the CraftGeek line and tomorrow April 24th HSN will have the Pin It, Wind It and Punch It featured during the following show times  12am, 8am, 1pm, 2pm and 9pm EST. We hope that you will turn to HSN or go to their site and pick up your favorites as HSN will have them for an unbeatable deal.

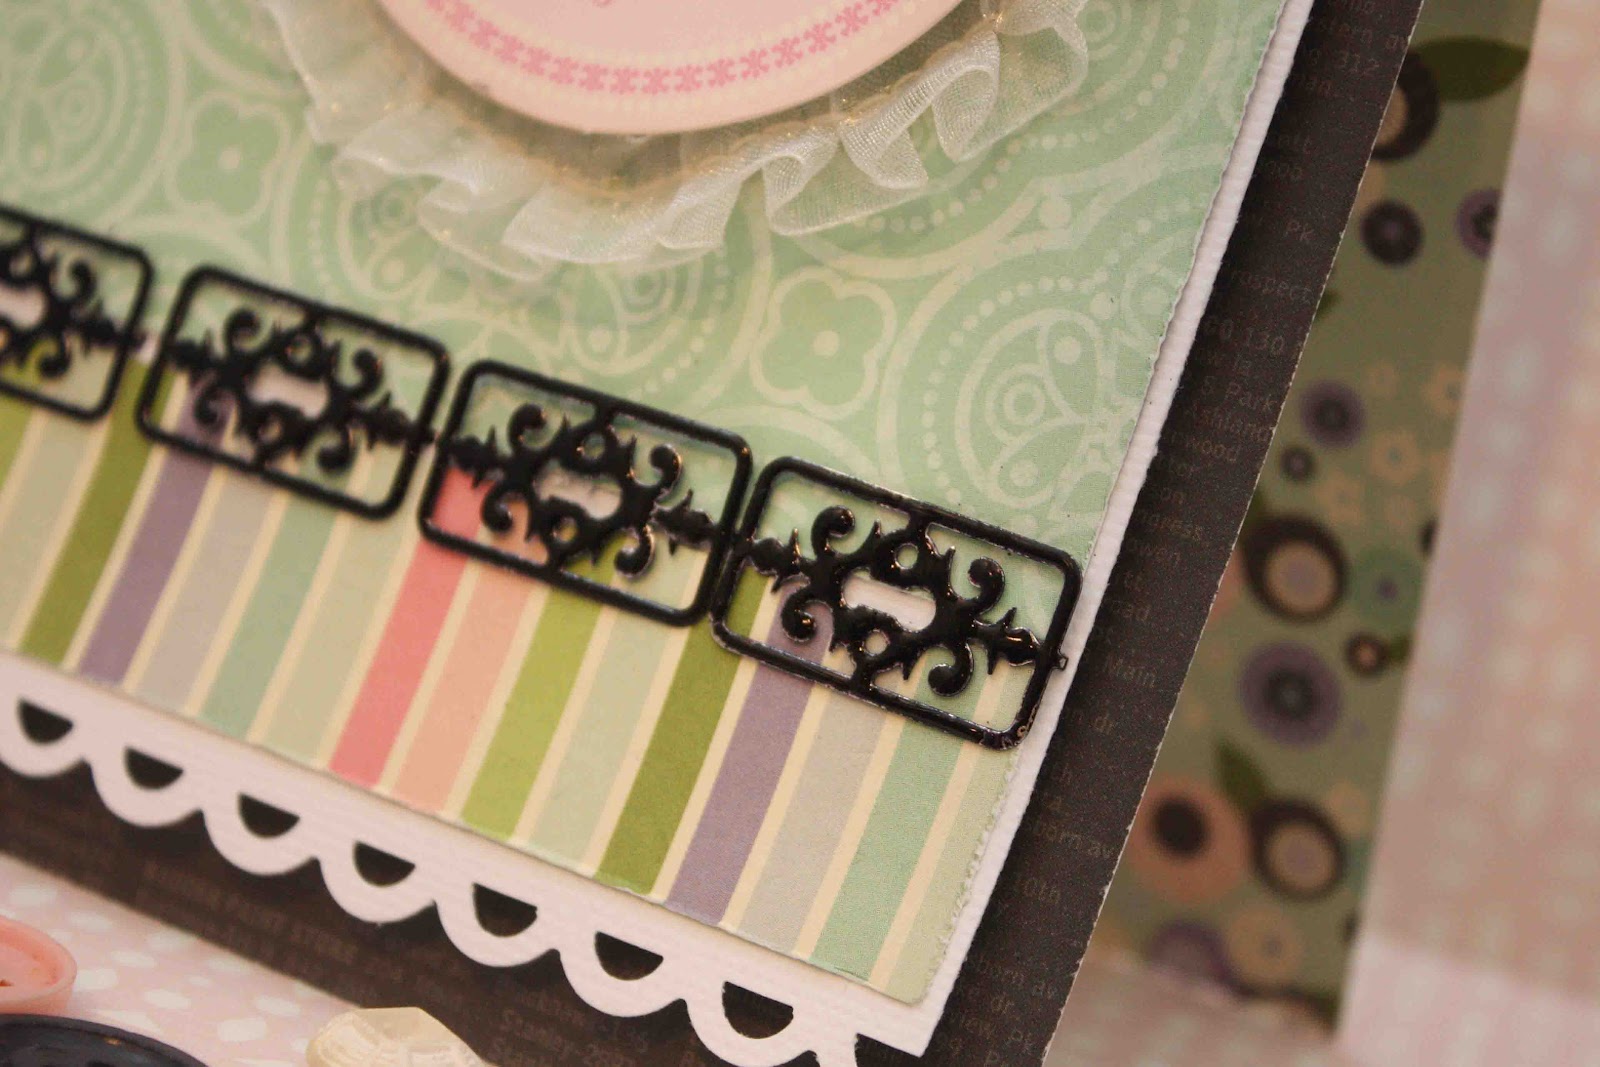
I used the CraftGeek Pin It on my card.  I created a border along the bottom of my card.  Before I attached the pins, I heat embossed them to change up the color.  As you can see in my photos below, it's a very simple process.  Heat embossing allows you to change the pins into any color of your choice. 


 I started by inking the pin to give the powder something to stick to.


I heated until the powder melted to a shiny gloss.


Here are the before (silver) and after (black)


Then I used the pin it to attach my pins.  The magnetic plate helps keep the tool properly positioned while the see through plate allows you to see exactly where you want to apply your pin.  Love that!!


Here's a close-up of the pins.


To get in on the fun and be entered into the drawing for some amazing Purple Cows tools. Be sure to leave a comment on all the designer blogs as well as the Purple Cows blog. Follow us or become a Fan on Facebook if you aren't already and share the hop info with your friends by sending them our way or sharing the Purple Cows Hop on your facebook page.

We will be giving out the following 7 prizes: 

1. Punch It Autumn
2. Punch It Solstice
3. Punch It Summer
4. Punch It Spring
5. Punch it Winter
6. Wind It and wire
7. Pin It and assorted pins
Now hop your way over to Dawn's awesome blog!! 

Here's the blog hop order just in case you need it:


Have fun!!  Later!

Saturday, March 5, 2011

Scrapbooking & Beyond Pubs

Scrapbooking & Beyond Magazine has a new four part series called "Gadget Girls" where 4 designers (Liz Qualman, Pam Callaghan, Robbie Herring, and me) each create a layout using a specific tool. We each rocked out the i-rock tool by Imaginisce in the Spring issue.

We all know how much I love bling and getting to work with this tool was a lot fun!! The i-rock was really easy to work with, too. I used the frames stencil to create the scalloped border, glam rocks in rhinestuds, and hot rocks compacts in jewels on this layout.


supplies used: patterned paper- Bo Bunny; i-rock- Imaginisce; flowers- Petaloo; sticker- Creative Imaginations; rub-on- Karen Foster; Ink- Clearsnap; stickles- Ranger; Adhesive- Helmar; punches- EK Success; trimmer- Purple Cows

Enter Scrapbooking & Beyond Magazine's drawing for a chance to win YOUR VERY OWN i-rock tool, plus 3 stencil kits, 3 hot rocks compacts, and a handy dandy tote bag. Just head over to their website and fill out an entry form!!

This next layout was also published in the same magazine. It's the first time I've ever had more than one project in any given publication!! So exciting!!

The photos are of Xander when he was 10 days old.


supplies: patterned paper, rub-ons, stickers, wood veneer- Creative Imaginations; flowers- Petaloo; ink- Clearsnap; punches- Martha Stewart, Marvy Uchida; adhesives- Helmar; trimmer- Purple Cows

Thanks for stopping by the blog today!!

Blog Widget by LinkWithin

My photo
I live in New Jersey with my husband and our 2 sons. I work full time as a Medical Technologist and volunteer for the Community Emergency Response Team in my town. I've been scrapping for the past 8 years and I truly love it because it allows me to combine my love of photography and my love of paper into one art form. I love teaching scrapbook classes and providing freelance work. Please contact me via email if you are interested in commissioning my services: tanisharenee74@hotmail.com

All content, including text, photographs, and artwork are copyright 2011 by Tanisha R. Long (except where noted). My original artwork is shared for personal inspiration only, not for commercial use. This includes contests, submissions, and publications. Any other use requires my expressed written consent.
MyFreeCopyright.com Registered & Protected

My Favorite Projects

Twitter


FEEDJIT Live Traffic Feed

Blog Archive

Labels