Monday, April 23, 2012

Purple Cows Blog Hop

Hello and welcome to Purple Cow's blog hop!!   If you've hopped here from  Elisa's fabulous blog, then you are well on your way and will continue to be treated to some wonderful eye candy from our terrific DT members!!

 If you just happened to pop in on my blog, please join us...I guarantee you'll have a great time and gain a ton of inspiration. Just go back Purple Cows' blog and start from there. Be sure to leave comments on each blog and make it all the way to the end of the hop for a chance to win some great RAKs from Purple Cows!!! How fab is that?

Purple Cows has some terrific new tools in the CraftGeek line and tomorrow April 24th HSN will have the Pin It, Wind It and Punch It featured during the following show times  12am, 8am, 1pm, 2pm and 9pm EST. We hope that you will turn to HSN or go to their site and pick up your favorites as HSN will have them for an unbeatable deal.

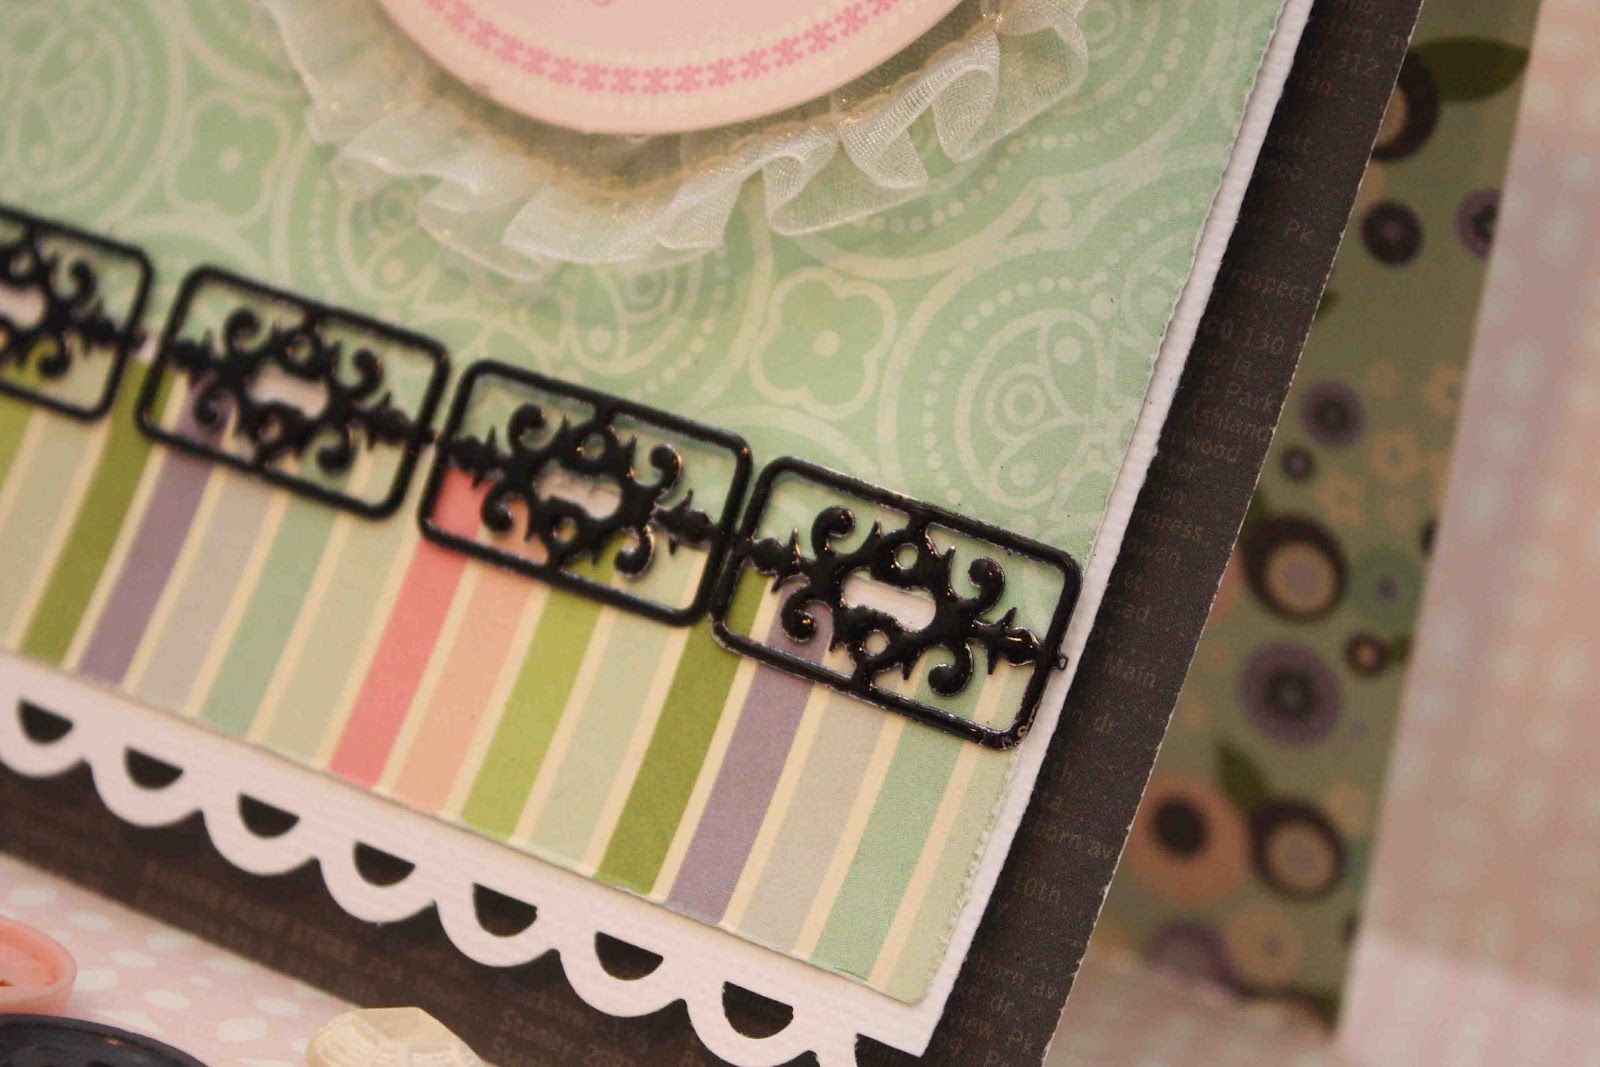
I used the CraftGeek Pin It on my card.  I created a border along the bottom of my card.  Before I attached the pins, I heat embossed them to change up the color.  As you can see in my photos below, it's a very simple process.  Heat embossing allows you to change the pins into any color of your choice. 


 I started by inking the pin to give the powder something to stick to.


I heated until the powder melted to a shiny gloss.


Here are the before (silver) and after (black)


Then I used the pin it to attach my pins.  The magnetic plate helps keep the tool properly positioned while the see through plate allows you to see exactly where you want to apply your pin.  Love that!!


Here's a close-up of the pins.

To get in on the fun and be entered into the drawing for some amazing Purple Cows tools. Be sure to leave a comment on all the designer blogs as well as the Purple Cows blog. Follow us or become a Fan on Facebook if you aren't already and share the hop info with your friends by sending them our way or sharing the Purple Cows Hop on your facebook page.

We will be giving out the following 7 prizes: 

1. Punch It Autumn
2. Punch It Solstice
3. Punch It Summer
4. Punch It Spring
5. Punch it Winter
6. Wind It and wire
7. Pin It and assorted pins
Now hop your way over to Dawn's awesome blog!! 

Here's the blog hop order just in case you need it:


Have fun!!  Later!

Saturday, April 21, 2012

Quick Quotes - Framed

Good day again blog readers!!  I'm back again with another project using Quick Quotes Club Q kits.  The other day, my older son and I took these fun photos in a booth at the mall.  I knew immediately that I had to use them on a project.  I decided to frame this layout so that I could hang it in a special place in my scrap room.  My son and I always have such fun silly times together and I definietly want to remember these times.
I started the project by inking one of my favorite stamps with Blue Hawaaiian PowderPuff Chalking Ink and stamping on the background.   I created a grid by cutting down some of the papers and one of the quotes from the kit and aligning them alongside my photos.  I think the sleek simple lines really allow the quote and photos stand out.  I layered the patterned papers with pieces of the vellum quote from the kit to highlight a few descriptive words that matches my son's personalitiy and my feelings about him.


I used some thickers on this layout, however the color was much lighter than I wanted, so I simply inked them to match.   

This project took mere minutes to create thanks to the Club Q kit.  I didn't have to think about coordinating because everything was put together for me.  Love that!!

Thanks for stopping by today!!

Sunday, April 15, 2012

Altered Canvas

Hey there Quick Quotes blog readers!! Tanisha here with another project featuring products from Club Q, Quick Quotes' monthly kit club and the Best Traditions vellum strip. What I love most about this kit is that it comes with a photo of a pre-made projects. You can either use that as a guide or do like I did here and create create a freestyle project of your own! Very versatile, right?!

I used the canvas to create a wall hanging for my scrap room to serve as a reminder as to my main reason for creating. I love these colors, they're so regal (and were my high school colors).
Here are a few highlights of the project. I stacked 2 die cut flowers and then a twine tied button to the center.
I absolutely adore the rhinestone trim, so I used it to frame the canvas so that it would stand apart from the scalloped die cut that I adhered to the back. I also stacked the die cut buttons and added pearls because...well I just love butterflies and add them to many of my projects. :)

Then, I added some purple to the flower by spritzing it with spray mist and then inking it with Purple Passion PowderPuff Chalking Ink.
I heat embossed the background with white embossing powder and a music print stamp. I inked over it with Lemonade and Purple Passion PowderPuff Chalking Inks and then used a damp paper towel to wipe off the excess.
That's all from me today...thanks for stopping by!

Thursday, March 22, 2012

Quick Quotes Cards

Hello every one!! I'm here with another post featuring Quick Quotes fabulous products.

I created a couple of cards using the One Fine Day collection, butterflies bag-o-chips, Wishes Color Vellum, and PowderPuff Inks in Tahiti and Lemonade.

I created the card base from One Fine Day 400, then adhered the Wishes color vellum strip to the side of a piece of embossed cardstock. I inked a couple of the butterflies with Lemonade PowderPuff ink, added pearls to the centers and adhered to the card. Twine and a punched border helps to finish off the card.

I cut patterned strips from One Fine Day 400 to create the pennant banner on this card. After punching the border along the side, I inked with Tahiti Blue PowderPuff Ink.
Quick Quotes Products:

Tahiti PowderPuff Chalking Inks
Lemonade PowderPuff Chalking Inks
One Fine Day 400
Butterflies Bag-O-Chip

Other Products:
Twine- The Twinery
Cardstock- Bazzill
Rub-On- American Crafts
Border Punches- Recollections


Saturday, March 17, 2012

52 Week Photos Mini Album

Remember the 52 week project that I did last year? Well, I took my favorite photos and scrapped them in this mini album by Basically Bare. The Rowdy Roadster mixed media album is a mixed media that was released this past CHA. I turned this album into a technique “free-for-all”! I painted, stamped, stickled, heat and dry embossed, and glittered until I liked the results.

I also used canvas leaves from the Bare Basics Blossoms and Leaves set, a chipboard filmstrip from the Paparazzi Embellie Set, and a chipboard and cardboard dress form from the Dress Me Up Dress forms set, and buttons.

I used WOW embossing powder in high gloss silver on the filmstrip and then swiped it with charcoal ink and white acrylic paint. I dry embossed the dress form and then heat embossed it using copper WOW embossing powder and then covered the bottom with strips of rosettes that were spritzed with shimmering mist. I added feathers (which are really hot right now) and pearls to really “girlify” the dress form. Before adhering the embellishments to the acrylic cover, I added a glittered flourish and swiped the back with white acrylic paint.

I added another dress form to the inside cover. I tore away the first layer of cardboard to reveal the ridges. I lightly painted it with white acrylic paint and stamped it using a stamp from WOW’s Call Me Stamp set to add the script print.
I love how the different shaped pages add so much character to this album.

I painted the canvas leaf with glimmer glaze. Once dried, I slightly curled the end to add dimension.
I created the background of this page by inking over a Tim Holtz mask and embossing with WOW powder in earth tone olive.
I ran both tags through the cuttlebug before swiping with acrylic paint and adding stickles. I love the texture that the dry embossing adds!
I swiped both with white acrylic paint so that they would stand out against the the canvas page that follows. I hot glued feathers and Petaloo flowers to the top tag and coated the embossed flourish with PK Glitz glitter on the bottom tag. I tied tulle through both tags for an added feminine touch.
This canvas page was really fun to work on. I embossed the page using WOW embossing powder in earth tone nutmeg and WOW’s brocade stamp. I have to admit, heat embossing such a large canvas area was tedious work. I had to heat it longer than paper but just shy of actually burning the fabric. Once that was done, I stitched around the page, about 1/2″ from the edge and then frayed and inked the edges.
The stitching and fraying were already done from the front side of this page. I used a mask and shimmering mist to create the background and then added rub-ons and embellishments once the page was fully dried.
This tag is wonderful for displaying either a couple of small photos or one large photo. I chose to keep the embellishments simple and added 2- 5×7 photos (one to either side of the page) and sheer ribbon for a pop of color.
I tore off the top layer of the inside of the back cover and covered the bottom with patterned paper. I painted, stamped, and added rub-ons to the exposed ridges. I nestled a felt Stack-A-Bellies Bird in the strip of rosettes, but not before spritzing it with Silver Foil glimmer mist. I attached a chipboard wing that was coated with glitter and then added pen work to the bird.
I covered the back cover with patterned paper and added strips of tulle to the rings to finish off the album.

This is probably the chunkiest album I’ve ever made, but I love every inch of it!! That’s all for now…until next post…happy scrapping!!

Saturday, March 10, 2012

Altered Family Canvas

Good day everyone! Today, I have another Quick Quotes project to share featuring the 8x10 chipboard Whimsical Tree on a canvas. This is only my 2nd canvas and I had a ball creating it.

I started by using bubble wrap and embossing ink to stamp the background and then embossed with WOW's Opaque Brite White embossing powder. I used the Whimsical Tree as a mask and painted over it with Radiant Rain Shimmering Mists from Luminarte in key lime, teal zircon, and ocean wave and then used a damp paper towel to wipe the paint off of the embossed circles. I lightly inked over the painted areas with Amaretto PowderPuff Chalking Ink.

I inked the tree with Amaretto PowderPuff Chalking Ink and aligned it slighlty to the right of the masked area so that the masking serves as a drop shadow. I cut flowers from Summer Samba 400 and added to the tree.

I used Summer Samba 200 to highlight the letter "L" in family, which happens to be the first letter of my last name.
Here's a close-up of the flawers on the tree.

I inked the sides of the canvas using Green with Envy PowderPuff Chalking Ink and Baja Blue PowderPuff Chalking Ink which matched the paint perfectly!!
Quick Quotes Products:
Summer Samba (200 and 400)
Whimsical Tree
PowderPuff Chalk Inks (baja blue, green with envy, amaretto)
Other Projects:
Canvas
Radiant Rain Shimmering Mists (ocean wave, teal zircon, ley lime)
WOW Embossing Powders (opaque bright white, earthtone paprika)
Pink Paislee Chipboard Alphabet
That's all for now!! Have a scrappy day!!

Wednesday, February 29, 2012

Tin Type

I am so excited to share with you my first Quick Quotes blog post!!

The Tin Type collection has my handsome little men written all over it. I love the muted colors with the surprise pop of orange. I wanted to play up the contrast so I matted the Tin Type 100 side A with a 2nd sheet of side B and added a strip from Tin Type 500 across the layout.

To help carry out the "steam punk" theme, I used cog wheels masks and embossing powder on my background.

I inked the gears from the Balloon - 8" x 10" Chipboard with Mocha Mama PowderPuff Chalking Inks and lightly embossed with copper embossing powder.
I cut word strips from Tin Type 500 and used as journaling on my layout. I also inked throughout the layout with Mocha Mama PowderPuff Chalking Inks and Baja Blue PowderPuff Chalking Inks.

That's all for now! See you next post!

Quick Quotes Supplies:
Quick Quotes TinType collection papers
Quick Quotes Tin Type 500
Quick Quotes balloon laser 8x10 die cut (cogs)
Other Supplies:
WOW Embossing Powder (Earthtone Nutmeg and Metallic Copper)
Creative Imaginations Corrugated Cardstock
Maya Road Envelop
Making Memories Alphas

Friday, February 24, 2012

WOW Basically Bare

Hey there, it's been a while since my last post. I have a good reason for my absence...I started a new job about 3 weeks ago and am still trying to find a way to fit it all in...scrapbooking, gym time, family time, computer time...and sleep. LOL! Although I haven't scrapped in a long time...too long as a matter of fact, I still have some projects to share. I created these mini albums for the Basically Bare booth at CHA.

I used Basically Bare chipboard and acrylic accents, Simple Stories patterned paper, and WOW embossing powder and stamps to highlight the photos of our summertime activities.

I used Basically Bare chipboard accents, Graphic 45 patterned paper, Petaloo flowers, and WOW embossing powder and stamps to highlight the photos of my trip to Bermuda.

Thanks so much for stopping by today!!

Tuesday, February 7, 2012

More New Creative Imaginations

Hey there everyone!! Today I have a ton of new projects to share featuring Creative Imaginations' new CHA-W 2012 releases.

This layout featuring my nephew, Jaden was created using Renae Lindgren's Make A Wish Line. This collections comes with papers that a just right for boys and girls! How cute is that pennant banner?
Christine Adolph's Oceanside collection is simply gorgeous! The variegated blues and browns will add a soft vintage flair to your beach themed projects.The delicate butterflies and dragonflies add to the versatility of this line.

This LO features Studio Basics 101 Family Matters. This collection is just perfect for preserving memories about your family! The soft muted colors make scrapbooking for every member of your family easy.
Our Studio Basics Family Matters collections is just perfect for those projects! The soft muted colors make scrapbooking for every member of your family easy.Our Studio Basics Family Matters collections is just perfect for those projects! The soft muted colors make scrapbooking for every member of your family easy.Our Studio Basics Family Matters collections is just perfect for those projects! The soft muted colors make scrapbooking for every member of your family easy.
Last but not least is an altered project featuring the Peeps collection. I painted the entire project with apple blossom Luminarte that matched the papers. I had a ball with this...can you tell?
Thanks so much for stopping by today!!
Blog Widget by LinkWithin

My photo
I live in New Jersey with my husband and our 2 sons. I work full time as a Medical Technologist and volunteer for the Community Emergency Response Team in my town. I've been scrapping for the past 8 years and I truly love it because it allows me to combine my love of photography and my love of paper into one art form. I love teaching scrapbook classes and providing freelance work. Please contact me via email if you are interested in commissioning my services: tanisharenee74@hotmail.com

All content, including text, photographs, and artwork are copyright 2011 by Tanisha R. Long (except where noted). My original artwork is shared for personal inspiration only, not for commercial use. This includes contests, submissions, and publications. Any other use requires my expressed written consent.
MyFreeCopyright.com Registered & Protected

My Favorite Projects

Twitter


FEEDJIT Live Traffic Feed

Blog Archive

Labels