I am so sad that I am unable to attend CHA (Craft and Hobby Association). I have gone to the past 2 and am hooked on the idea seeing all of the new product up close and personal, as well as meeting the people behind the brands. It's eye candy overload, I tell you! I'm going on a cruise next month and couldn't fathom leaving my kiddos for so many days back to back, so I made a sacrifice. :) I figure I can always go to the larger show in January right.
Luckily for me, I have once again been given the opportunity to play with brand spanking new
Bella Blvd products before they hit the market!!! Yippee! Oh.my.goodness. Stephanie has done it again! With 6 new lines debuting at CHA, there's definitely something for every scrapper, altered artist, and card maker!!
I worked with 4 different lines: Lovey Dovey, Socialite, One Fall Day, and Hello Beautiful!
This layout,
Beautiful Sisters, was created with Lovey Dovey and is my favorite project because the photo is of my mom and her sister. I have 7 Aunts, but my mom has been extremely close to this one all of her life.
I wanted this layout to be very feminine. I added ribbon and lace, rhinestones and pearls, butterflies and handmade flowers. I just adore that pink script patterned paper, too!

I sprayed the white cardstock tag with Grapefruit
Luminarte Paints Radiant Rain shimmering spritz and then stamped it with my favorite script stamp.

I coated the alphabet stickers with stardust stickles and the popped the "beautiful" sticker up on foam
Zapdots.

This large gray butterfly is actually from the Hello Beautiful line, but I loved how well it matched this line, so I added it! :)


Close-up of my handmade flowers


This next layout was created with Socialite. This line is so stinking fun! I can't wait to see all of the party/New Year's/GNO projects using these papers, sprouting up all over the 'net.
I *heart* that little black dress and wanted to make it the highlight, so I popped it up on some
Zapdots and added a little stickles and bling.

I made this scalloped border by punching out small circles and aligning them along the border. I added a rhinestone to each one...what's a Girl's Night Out project without lots of bling?

close-up of the dress

I like how the new lines coordinate with the existing alphabet stickers and Blooms A Bella flowers.

This card was made using One Fall Day. In my book, teal+orange+brown=fabulousness!! I love this color combination!! Very fun for Fall!

The next 2 projects were created using Hello Beautiful! This line absolutely screams happiness!

I added tiny buttons coated with turquoise stickles to the tree.


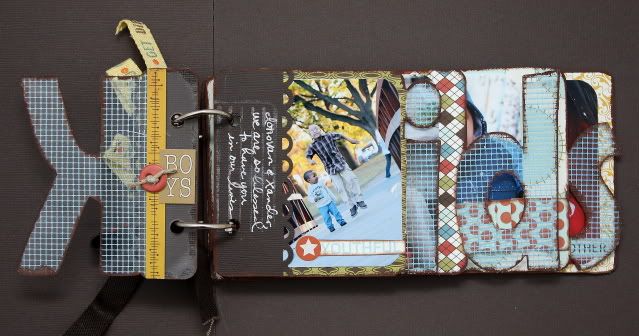
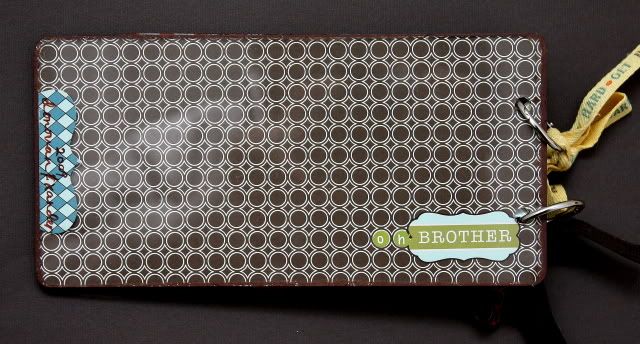
This is my Just Because... mini album. It's full of photos of my 2 favorite scrap subjects and loaded with "words of wisdom" and a personalized note for them.


Every single project on this page was adhered using
Helmar Adhesives.
I hope you have enjoyed getting a sneak peek at some of the projects that will be on display in Bella Blvd's booth. Check out
their blog periodically to see what the other Artistas have created!
Until next post...happy scrapping!


 I coated the alphabet stickers with stardust stickles and the popped the "beautiful" sticker up on foam Zapdots.

 Close-up of my handmade flowers

 I made this scalloped border by punching out small circles and aligning them along the border. I added a rhinestone to each one...what's a Girl's Night Out project without lots of bling?
 close-up of the dress
 I like how the new lines coordinate with the existing alphabet stickers and Blooms A Bella flowers.

 I added tiny buttons coated with turquoise stickles to the tree.

 This is my Just Because... mini album. It's full of photos of my 2 favorite scrap subjects and loaded with "words of wisdom" and a personalized note for them.


 This envelop was one of the techniques that I taught in the class.


 All of the recipes were downloaded from allrecipes.com, foodnetwork.com, and marthastewart.com.
 journaling: a bunch of gals from all across the country came together and had a blast! I loved hanging with each of them!
  supplies: patterned paper, die cuts, chipboard, glazed alpha, mini alpha, transparency overlay- My Little Shoebox; ribbon- Creative Impressions; cardstock, gems- Bazzill; adhesive- Glue Arts; Therm O Web; color spray- Shimmerz Paints, Clearsnaps; paint- Shimmerz Paints; stickles- Ranger; pen- sharpie
 journaling: Donovan came up with the idea to leave Santa a slightly different snack. Instead of the norm, cookies and milk, he opted for a red velvet cupcake and chocolate milk. Looks like Santa was quite pleased! Dec 2009
  supplies: patterned paper, die cuts, chipboard, glazed alpha, mini alpha, transparency overlay- My Little Shoebox; stickles- Ranger; ribbon- Creative Impressions; cardstock, gems- Bazzill; adhesive- Glue Arts; Therm O Web; pen- sharpie
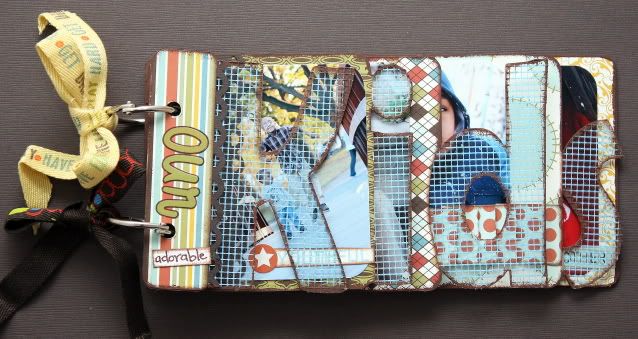

 I also adore the new alpha sticker font!
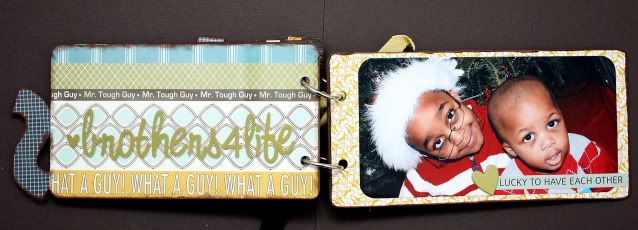
 Next is a layout I created using Estate Sale. The pink, taupe and navy blue colors in this line makes it perfect for masculine and feminine layouts. OH my goodness, what a great combination! I have a few layouts in mind featuring my boys and I using papers from this line!
 I popped up a few elements with foam adhesive to add some dimension.
 It's so easy to create your own embellishments simply by cutting elements from the papers...another smart way to stretch a buck!
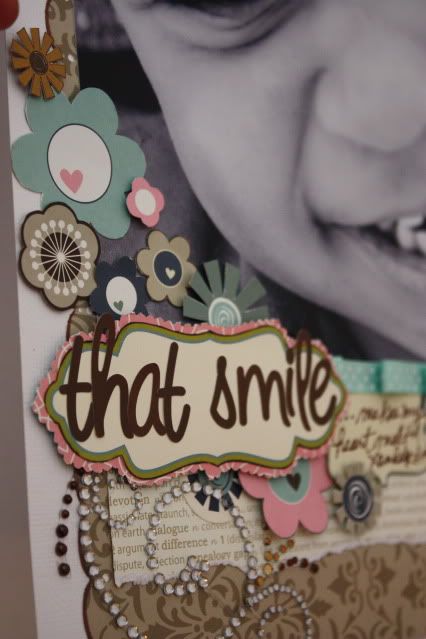 This next layout was created using All Inclusive. My mom took these photos of me on our trip to Bermuda and they're a great fit for the colors and theme.
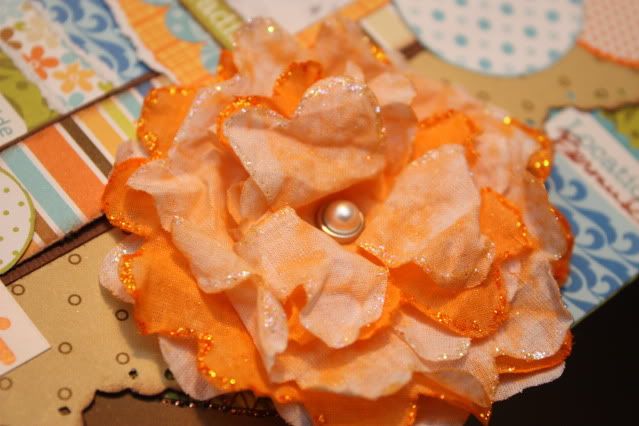
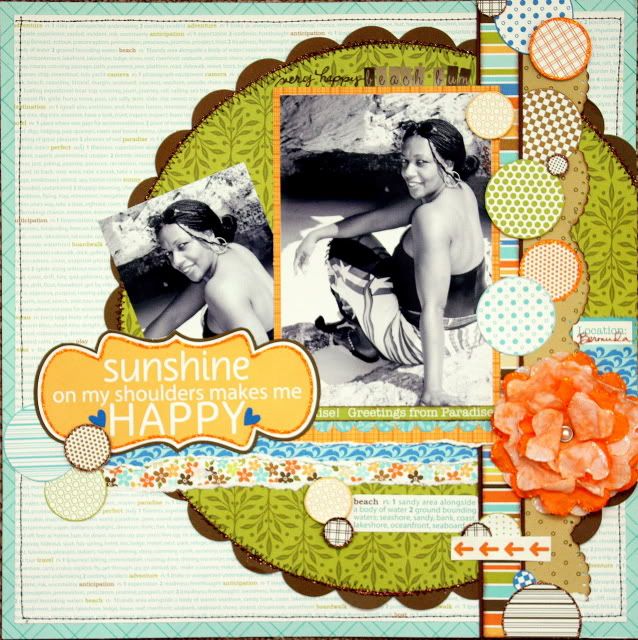 Here's a close-up of the flower--it was originally yellow and white, but I took it apart and used orangesicle glimmer mist to change the yellow to orange and then spritzed the white petals with baby's breath shimmerz. While the petals where wet, I crumpled them and then used a heat gun to help fluff up the petals. Once dried, I added orange and stardust stickles to the edges.
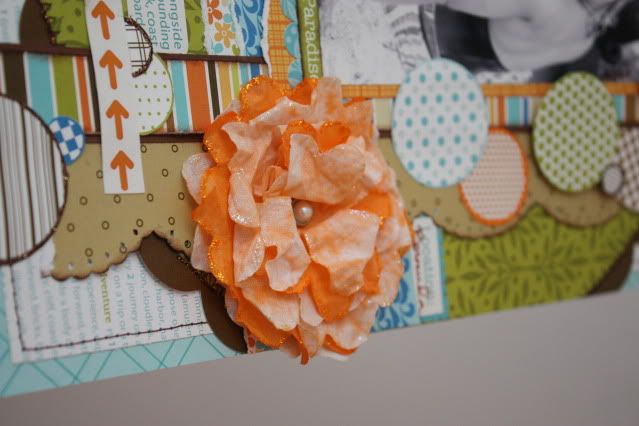
 I cut circles from the patterned paper and layered them for a happy, "bubbly" effect. I love how I didn't have to do anything for the title, except cut it from the billboards sheet and add stickles. I couldn't have worded it any better!
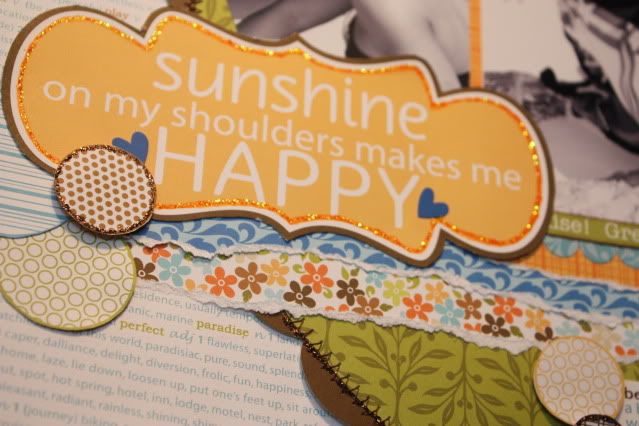 Ever since I took these pictures I have wanted to scrap them, but nothing I came across did them justice so they sat and sat on my computer. When I opened the box of Bella Goodies and saw the Man of the House line, these pictures immediately came to mind. I love that I was finally able to tell the story of Troy's first Father's Day tie!
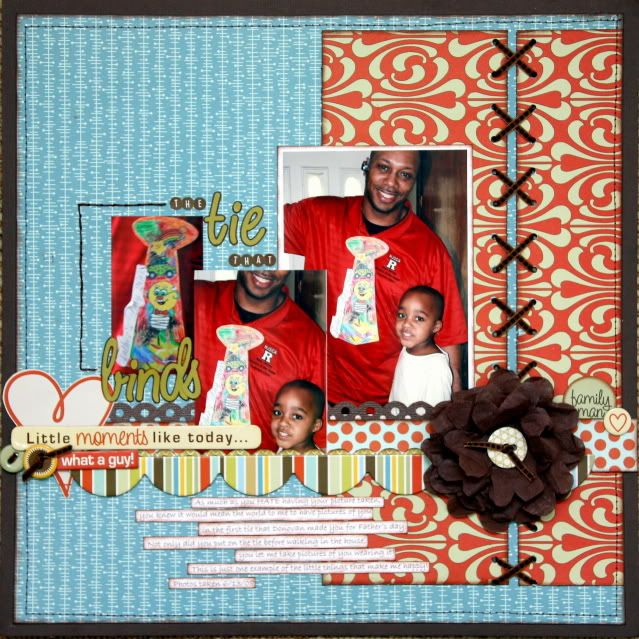 I took apart the flower and removed the yellow petals, then spritzed it with shimmerz and added a chipboard button to the center.
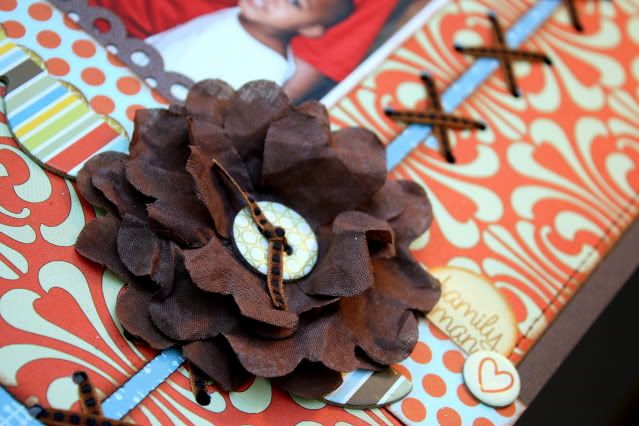 I think of all the projects, this one is my favorite! My little Boo-Boo who at the time could barely talk, learned to tell me that he loved me. That feeling is just....indescribable.
 I especially made this card for my basketball coach hubby...my mocha daddy. I poured over this card for like 2 hours! I ironed an SEI iron-on onto a transparency and then traced each little piece onto scrap paper and then used the scrap paper to cut each piece from the Billboards paper, just to get it customized to my liking. I think this is at the top of my list of favorite cards that I've ever made!
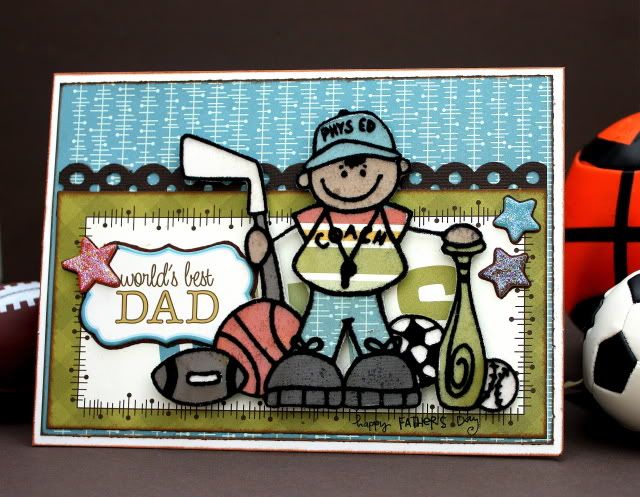 Thank you so much for stopping by. I hope you've enjoyed the projects and have gotten some ideas. If you're LSS doesn't carry Bella Blvd products, tell them to get on the ball because they simply ROCK!!!