Showing posts with label stamping. Show all posts

Sunday, September 2, 2012

Old and New Projects

This post will show you how easy it is to turn a plain dry erase board into a fabulous teaching tool with the help of Purple Cows Laminator and Hot Pockets!! I started by taking a dry erase board apart and removing the magnetic sheet. I measured the frame and created a background by cutting different patterned papers from Bella Blvd with the TrimIt and adding alphabet stickers to fit into the space. I laminated the background using an 8 1/2" x 11" hot pocket. The clock face, title strip and speech bubble were laminated separately from the background, cut out and then adhered to the project using foam adhesive to add dimension.

Because the project is laminated, you can write and erase just as you would with a magnetic dry erase board. NOTE: You can recreate this look using a regular picture frame. 

My younger son loves this project!  He's only 4, so he can't quite tell time yet, but he loves drawing on the hands.  Before you know it, he'll be telling time like a pro.

 
Here's are a couple of peeks or the details.


Supplies:

Purple Cows: TrimIt, Laminator, Hot Pockets
Bella Blvd: Patterned Paper, Chipboard, Stickers
Dry Erase Board

Here's another projects that I created for Purple Cow's and [my last project for] Basically Bare. 
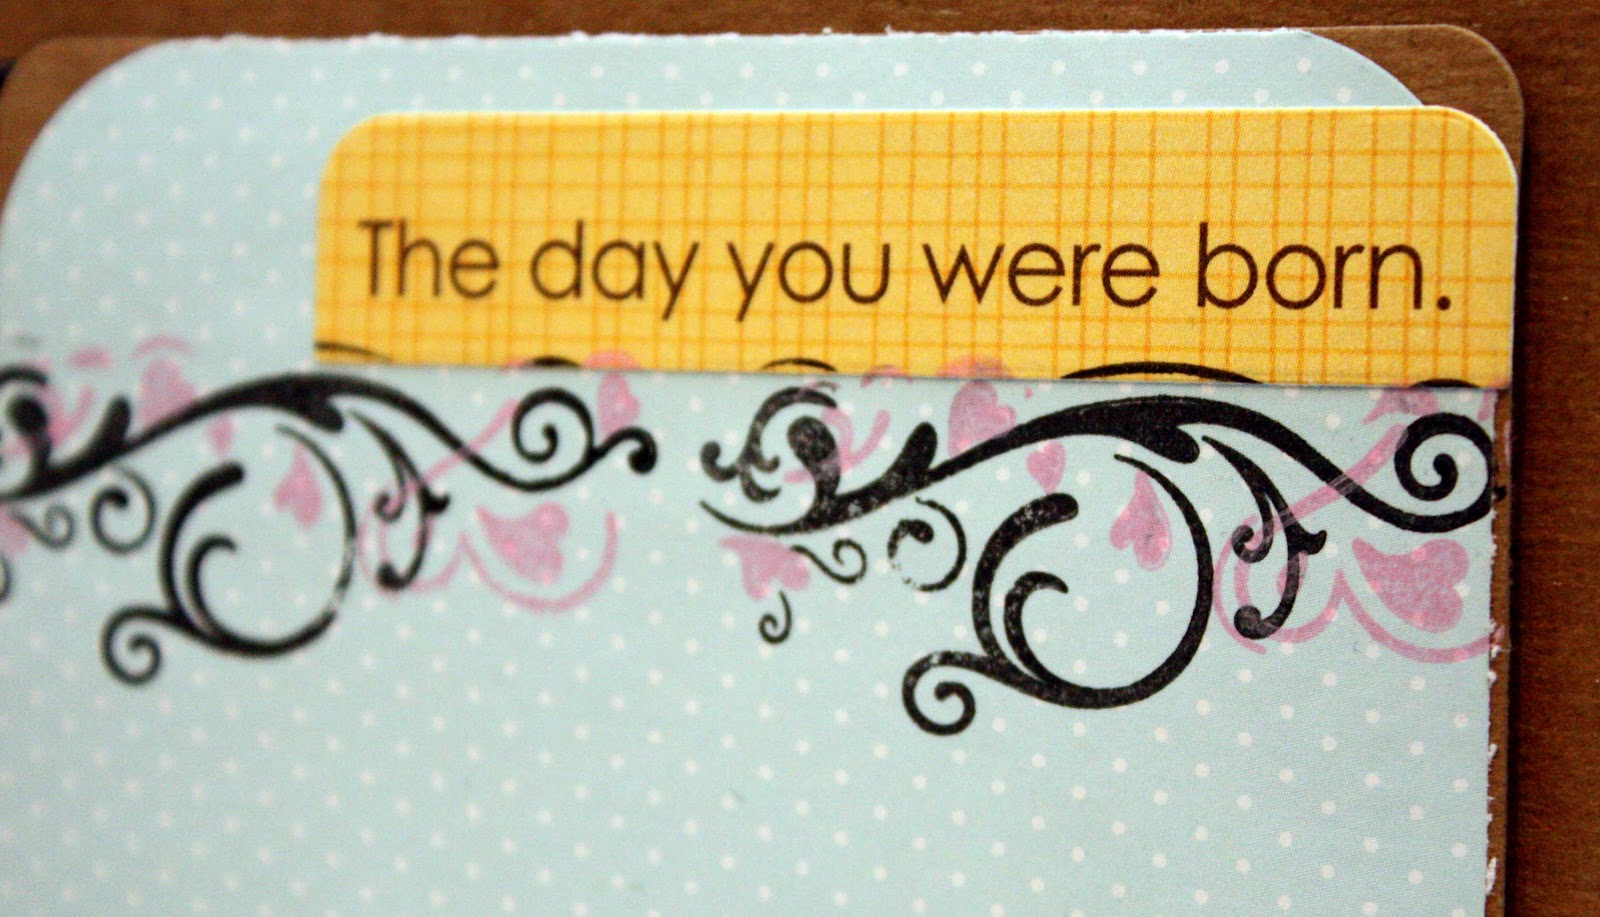
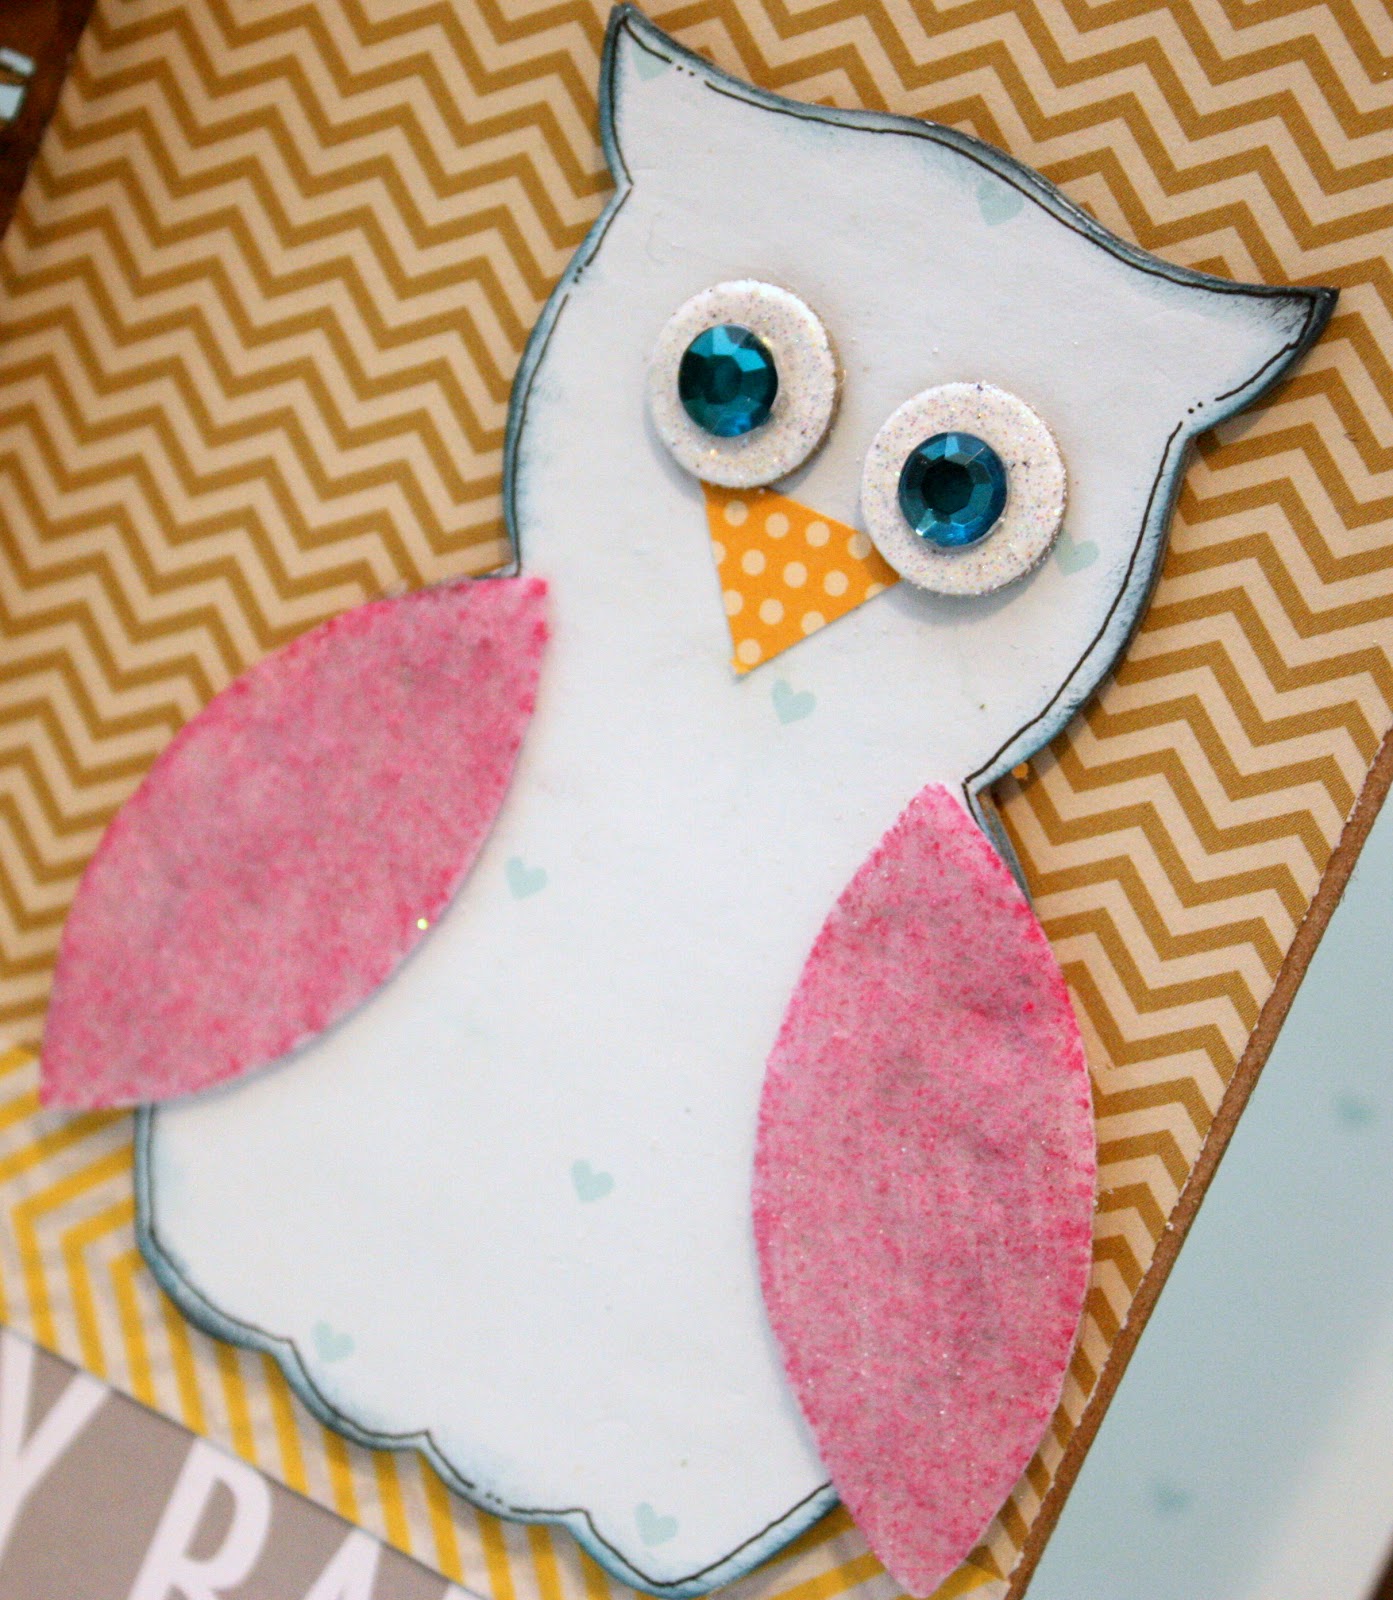
I used the Polly’s Pocket album which has plenty of pockets for storing extra photos and memorabilia along with a ton of brightly hued papers from Bella Blvd. The album is embellished with Stack-A-Bellie Owls, Bare Basics Wings, Welcome Little One, Bare Basics Heart Set #2, Blossoms and Leaves, and Buttons, and the Large Pennant Set.

I heat embossed the handle and legs of the stroller with Metallic Silver WOW embossing Powder before covering it with patterned paper. I added a little umph to the wheels with self adhesive buttons.


 I added some detail to the pages by using Purple Cows StampIt. 


I created the flower embellie by covering a chipboard flower with patterned paper, inking the edges and adhering a sticker with pop dots.

 
I used Zig Fabricolor Pens to add color to the felt banner.


I had a lot of fun creating the rattle! I heat embossed the handle and covered the top in patterned paper. I used a blister from product packaging to serve as the dome of the rattle. I filled it with beads and glitter and hot glued it to the rattle.

 
I used clear snaps spray ink to add color to the canvas heart.


 I love the stackable embellishments because there are so many options for customizing them.


I used Zig Fabricolor pens to color the wngs of the owl, and then dresed him in patterned paper and gems for his eyes.


As always, thank you for stopping by.  Have a great holiday!!


Monday, August 22, 2011

Repetition with Cheery Lynn Dies

Happy Monday blog readers!! I'm here with a quick post to show you how to use repetition to make some of the smaller dies that Cheery Lynn Designs offers really stand out on your projects.

I used 3 die cut apples to create this A+ Teacher card. Of course the apples could be swapped out using any number of our dies.

I created texture on the front panel of this card by embossing it with the Burlap plate and embossing pad and then finished off the title using the School Days font.


Here's a close-up of the dimension created by adding pop dot to my elements. I also added more texture by stitching the Coved Rectangle stacker before adhering it to the card.


Here's another example of using repetition to increase the impact of smaller dies.

I used Little Stackers Scalloped Circle Nesting Dies to highlight 4 stamped pumpkin faces on this Halloween card. Again, any of the smaller dies in the Little Stackers Dies sets could be used in the same fashion!

Other Cheery Lynn Designs dies used:
Coved Rectangle Stackers
Border Carnivale
French Flair Stackers

I hope this post has inspired you to pull out your smaller dies and put them to work on your projects!

Until next post...happy scrapping!!

Thursday, April 7, 2011

Blog Hop Projects

All this week, Creative Imaginations and Memory Box will be hosting a joint blog hop. Both Design Teams have created lots of technique based projects using luminarte and memory box's stamps. There will be giveaways each day, so stop by and check it out!

I created projects using 2 different types of papers along with Memory Box Stamps to show you the varied looks you can get using Luminarte.

For this birthday set, I created my own patterned paper by stamping with embossing ink onto cardstock and then heat embossing with clear embossing powder. I dipped a paint brush into Ginger Peach Radiant Rain Shimmering Mist and painted (instead of spraying) over the stamped images. I dabbed a paper towel over the embossed images to pick up the excess mist and the result is a lovely stark contrast between the background color and the embossed flowers.

I also created matching patterned tissue paper by simply stamping with ink onto the paper.

used the same resist technique on this card. This time, I used Mallard Green, Burnt Umber, and Yellow Rose twinkling H2Os on Glossy Paper and the result is a stunning watercolor look.

See how the yellow varies at the top of the card? That's actually the same color. I just diluted the paint with more water to give the lighter effect. Pretty cool, huh?

Thanks for stopping by today!

Wednesday, September 15, 2010

Blog Hop Projects

Have you stopped by Creative Imaginations' and Hero Arts' blogs for your chance to win stamps and Twinkling H2Os? It's not too late!! All week long each blog will feature innovative and inspirational projects created by design team members. Today, was my turn on HA's blog. Here are the 2 projects that I created:

I started by creating a Halloween Card using Hero Arts Poly Clear Happy Halloween Stamps and Twinkling H2Os in Chestnut Brown and Sunflower.

I had a really challenging time trying to choose just one stamp from the Hero Arts Halloween stamps, so I decided to use them all! I stamped the entire package on my card and then embossed with clear powder to create the textured background. I stamped one greeting again in black ink and adhered it to my card with pop dots so that it would stand out. I definitely wanted that adorable pumpkin stamp to be a part of this card, so I embossed the image, cut it out and made it sparkle using Creative Imaginations' Twinkling H2Os in Chestnut Brown and Sunflower.

Click here for complete supplies and instructions.


My next project started out like this...

For me, Halloween is all about the treats! I altered this container using the Maple Leaf and Happy Halloween stamps, along with CI's Fright Night paper and Sunflower Twinkling H2Os so I could stow away a few treats in my scrap room. I personalized my greeting by using 2 different stamps and then cutting out the parts that I wanted. I topped it with a velvet flower from Petaloo and some curled paper for an extra decorative touch.

Click here for complete supplies and instructions.


Here's a closer look at the top.


Halloween is right around the corner! I hope these projects have inspired you to dig into your stash and create!


Until next post...happy scrapping!


Saturday, September 26, 2009

My Little Shoebox Plus Hero Arts

I just love it when My Little Shoebox partners with another awesome company! Not only does the DT get to create with MLS's adorable product, we get to show you how wonderfully MLS looks with other products. This month, we used Hero Arts stamps! I need to stamp more...I have a ton that rarely see daylight, but after working with the stamps sets this month, I know I have to pull mine out more.

I used Hero Arts Artistic Windows wooden stamps and Clear Design designer alpha on this card. I stamped the wood grain image onto MLS paper and then cut a tree shape out of it. I stamped the letter U on a piece of MLS paper, cut it out and then adhered to the card.

I used Clear Design designer alpha on this layout. I love the font in this set and the fact that it contains several images like butterflies, flowers, and flourishes.

I used the Houndstooth stamp to create a custom background on this layout.

That's all for now...thanks for taking a peek!!


Thursday, July 9, 2009

Shimmery Impressions

I am a scrapbooker at heart and I've never really thought of myself as a stamper or even a card maker for that matter, but when I heard that Shimmerz was teaming up with Impression Obsession, I knew I had to give it a go! IO has so many different types of stamps that I had a hard time trying to choose, until I came across the Noah's Ark stamp set. I have a few friends that have had babies very recently or are about to deliver any day now and I thought this set would make some really adorable cards!


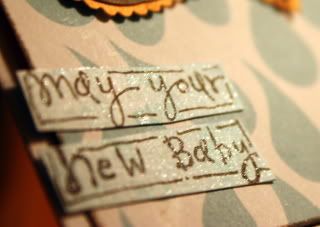
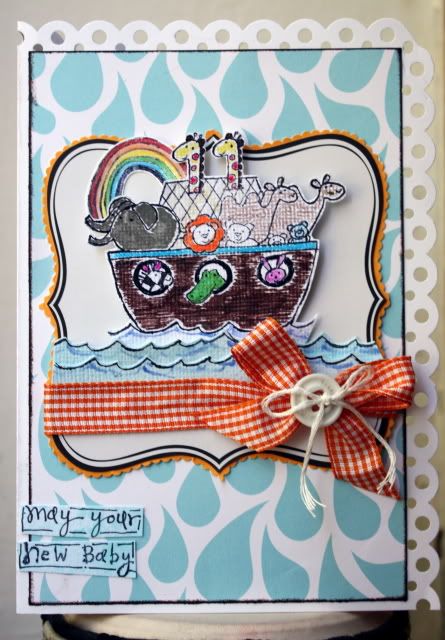
To create this uber cute card, I used 3 stamps from the set, sea foam shimmerz spritz, ultra marine and orange sherbert shimmerz, gold glimmer, choc-o-lot, and pixie dust blingz.
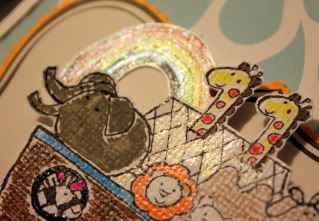
I colored the rainbow, lion's mane, and ark with markers and colored pencils before adding shimmerz and blingz. For the roof of the ark, I just painted directly on white cardstock.

I painted along the stamped waves with ultra marine shimmerz and then spritzed them with sea foam shimmerz spritz before cutting them out and adhering to the card.

"New baby" is one of the stamps from the set. I mimicked the font with my own handwriting for "may your"; I wrote and stamped on white cardstock before spritzing with sea foam spritz. The inside of the card reads "shower your life with joy and happiness".

There you have it! Now if I can get over my hesitation and get my stamp on...so can you! Go ahead and give it a try!
Blog Widget by LinkWithin

My photo
I live in New Jersey with my husband and our 2 sons. I work full time as a Medical Technologist and volunteer for the Community Emergency Response Team in my town. I've been scrapping for the past 8 years and I truly love it because it allows me to combine my love of photography and my love of paper into one art form. I love teaching scrapbook classes and providing freelance work. Please contact me via email if you are interested in commissioning my services: tanisharenee74@hotmail.com

All content, including text, photographs, and artwork are copyright 2011 by Tanisha R. Long (except where noted). My original artwork is shared for personal inspiration only, not for commercial use. This includes contests, submissions, and publications. Any other use requires my expressed written consent.
MyFreeCopyright.com Registered & Protected

My Favorite Projects

Twitter


FEEDJIT Live Traffic Feed

Blog Archive

Labels